
Club Night Report
Wednesday 13th September 2017
Club Night Report for 13th September 2017 - observations by Vernon Hughes
 |
 |
 |
 |
 |
 |
 |
 |
 |
 |
 |
 |
 |
 |
 |
 |
 |
 |
 |
 |
 |
 |
 |
 |
 |
 |
 |
 |
 |
 |
 |
 |
 |
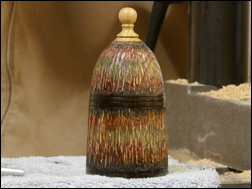 |
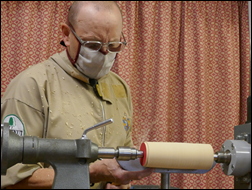
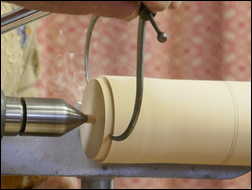
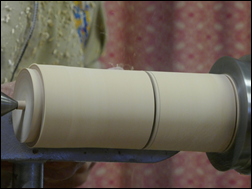
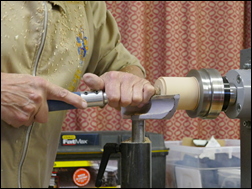
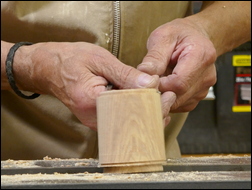
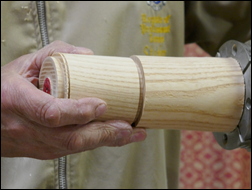
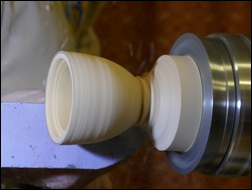
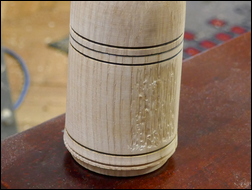
Tonight the main focus would be on coloured texturing, truly beautiful examples of which were shown on his display table. There were two examples thereon of the design of box he would make, texture and colour this evening; as was to soon emerge as the demonstration progressed. Steve piled straight in on a square-section blank of Oak say 6" long by 3" square in size, but this was discarded almost immediately due to the discovery of a split. It was replaced promptly with an 8" long by 3" square (approx.) Ash blank mounted between centres. Roughing down was performed with a very large roughing gouge before a ¼" angled spigot was created at the tailstock end, and that end of the blank was faced off. The blank was then reversed into a chuck with tailstock support retained initially. It was then brought into perfect balance with fine cuts by the big roughing gouge and a slight taper was created part way from the headstock end. A spigot or tenon was then made on the other (tailstock) end of the blank to hold what would be the lid of the box. A parting tool was then used to cut the blank into two sections in proportions 2/5 and 3/5, the shorter section for the base of the box remaining mounted in the chuck. Tailstock support was removed for parting off of the longer, hand-held, lid section. Work on the parallel-sided base proceeded rapidly, the main stages being the precise cutting of a shoulder for the lid to sit on tightly, and hollowing, including internal sanding (very neatly performed with tiny strips of abrasive) and light polishing. Polish was applied with a finger, and tissue (not rag) was used for polishing. The base was then removed after being pencil-marked with the No. 4 jaw position.
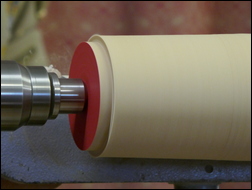
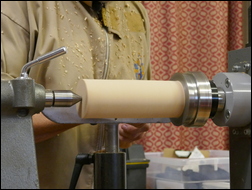
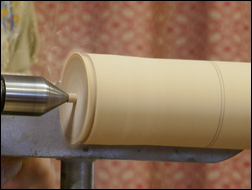
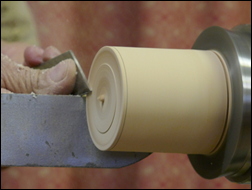
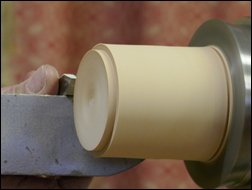
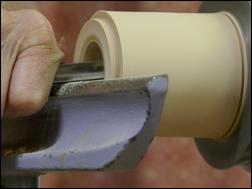
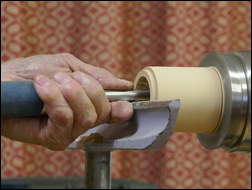
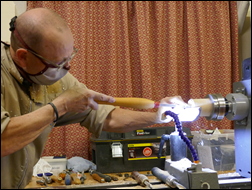
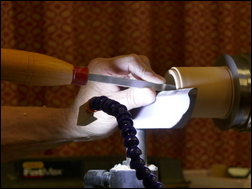
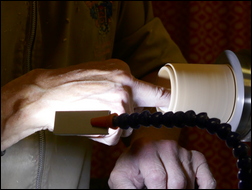
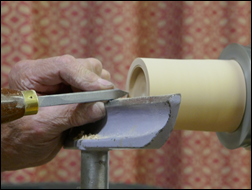
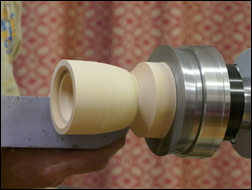
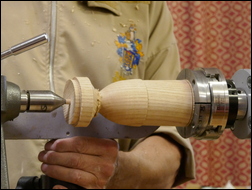
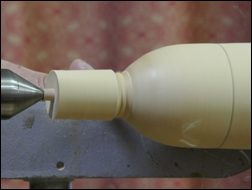
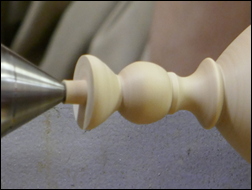
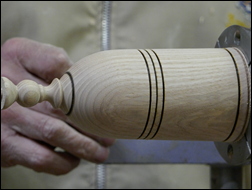
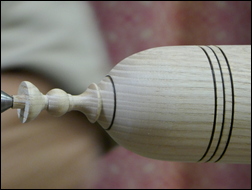
The larger (lid) section of the blank was then mounted and great care was taken in measuring the diameter of the base onto which the top would have a push fit, and in transferring that dimension to the bottom face of the lid section. A short parting tool was then used initially to cut the critical internal diameter of the lid before hollowing was started. After removal of a first layer of the internal surface trial fittings of base into lid were made until a perfect very tight fit was achieved. Hollowing was then extended, care being taken to get the internal depth right. External shaping of the lid below the finial stage was then commenced, the intention being to achieve a perfect egg cup form. Steve then switched back to the inside of the lid and perfected, sanded and polished it, as with the base. A highly effective light was used to enable a fine finish to be achieved. A final test-fit of the base to the lid was then carried out, a perfect success-indicating 'pop' being achieved as the two sections were separated. The top was then removed from the chuck and replaced with the base, onto which the top was pushed (with tailstock support) for completion of the top finial and other external finishing work including matching lid and base diameters and overall shaping. The point of a skew chisel laid flat on the toolrest was then used to make shallow v-cuts at carefully spaced points on the body and these were then burnt black using a piece of Formica. These rings serve as both decorative features and barriers to contain the spread of colouring agents. The joint line between top and base sections was burnt similarly; this disguises the join totally. Steve decided that the lid finial was out of proportion (too large) but it was not reduced at this stage because the time had now come to get down to texturing and colouring.
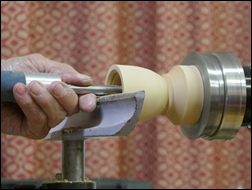
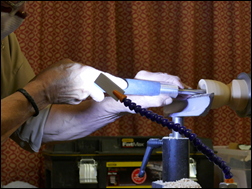
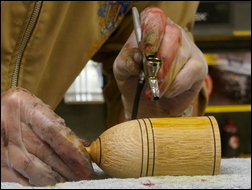
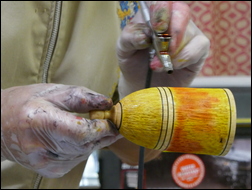
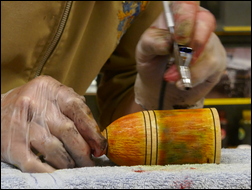
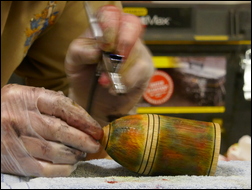
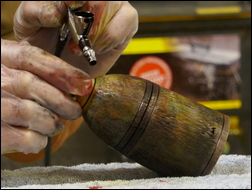
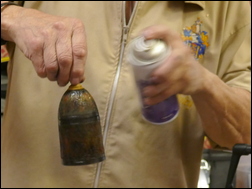
Steve uses a Dremel fitted with a dental burr to achieve texturing to his taste but mentioned the Robert Sorby texturing device as a possible alternative. He usually goes round twice with the Dremel producing a random pattern; it requires no skill or artistry - or so he claims. He demonstrated this over a small section before producing a pre-textured box to permit a rapid transition to the colouring phase. This one would be handed over to the Club upon completion. This generosity with time and example is much appreciated. Colouring would be done off-lathe, a suitable protective cloth being laid out over the lathe bed. A reasonably priced, but highly efficient, 'Spraycraft' airbrush from Axminster Tools and Machinery (see HERE for an example of what was used) was produced for the job, complete with rubber gloves, small bottles of quick-drying dye plus specially-formulated meths for (meticulous) airbrush cleaning between colours and upon completion. Colour choice and order of application are down entirely to personal taste. He started with yellow followed by red, blue and black. The waste-not, want-not principle was applied with small quantities of unused dyes being poured carefully back into their respective bottles. As the colours are applied small clear areas can be left to receive the last colour applied, if so desired. The final appearance will not be fully revealed until sealing, polishing and or lacquering have been completed. No two items will ever be the same!
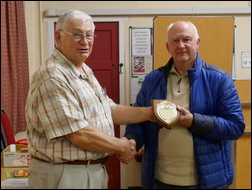
The vote of thanks delivered by our chairman Mike was genuinely enthusiastic, and we had all enjoyed yet another highly instructive demonstration by Steve. It seems likely to lead to an increase in texturing and colouring work produced by Club members, and we can all look forward to seeing the results on display over the coming months. Hearty thanks Steve!
<Top of Page>
There are two Show and Tell Tables - both using the same Theme - with a table for Novice Category and one for the Open Category.
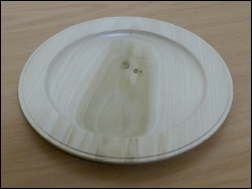
This months Show and Tell Theme was: A Platter
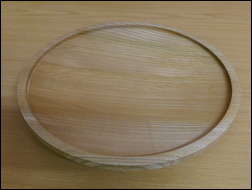
| This month's winner in the Novice Category was Pete McManus with a platter in tulip wood |
 |
 |
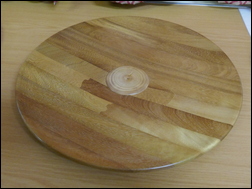
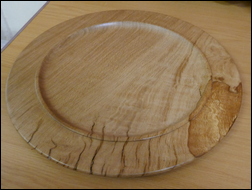
| The Open Category 3rd place went to Steve Body with an elm platter (on the right ) - and in second place was Ady Wilkins with a large laminated 'worktop' platter (shown on the left) |
 |
 |
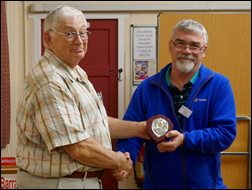
| This month's winner was Ken Gateley with a large finely turned platter in oak |
 |
 |