
Club Night Report
Wednesday 15th June 2016
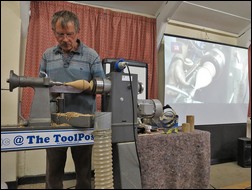
Club Night Report for 15th June 2016 - observations by Chris Frankum
 |
 |
 |
 |
 |
 |
 |
 |
This was Dave's third visit to the Club - see the Club Night Reviews for 15th May 2013 and 10th June 2015.
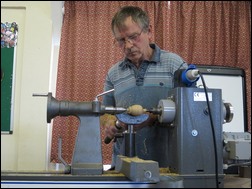
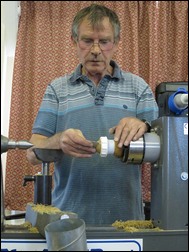
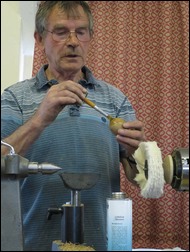
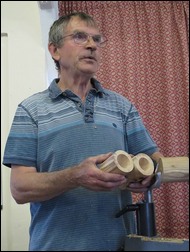
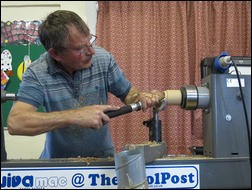
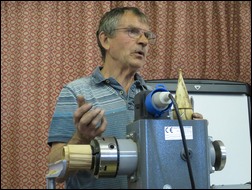
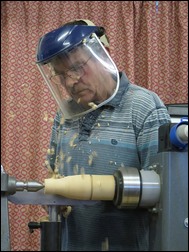
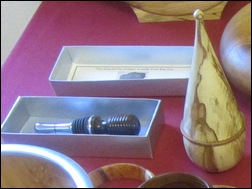
Dave gave us a very interesting and detailed demonstration of 3 different projects; turning an egg; a droplet box and a beaded wine bottle stopper from rare Somerset bog oak.
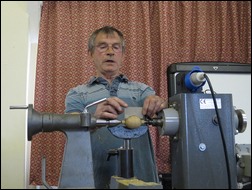
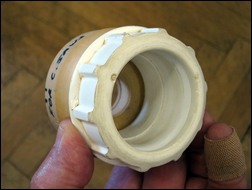
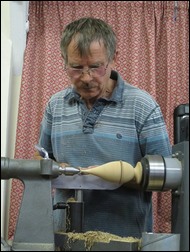
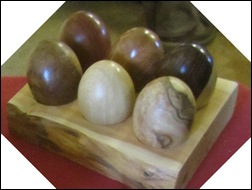
Dave's demonstration egg used a piece of Burr Acacia (false acacia) showing beautiful grain. Before starting he smoothed off the tool rest using a small wooden paddle with velcro and abrasive strip. He used 3 simple cardboard patterns he had made from real eggs for the long axis profile, the blunt end and the sharp end to perfect the shape. The ingenious plastic chuck made from a waste system compression coupling made finishing each end straightforward. Finishing was completed by sealing with cellulose sanding sealer and buffing with Diamond White to cut back and Carnuba wax to polish.
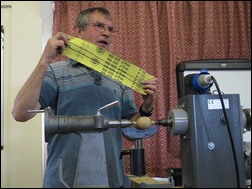
Click here to download a project sheet kindly provided by Dave on turning the egg.
 |
 |
 |
 |
 |
 |
 |
 |
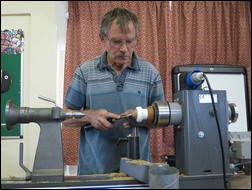
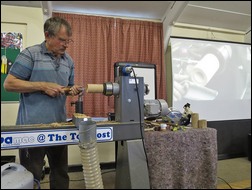
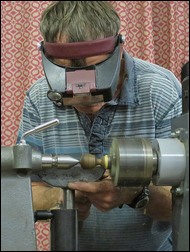
The droplet box was made from a piece of elm approximately 75 X 75 X 250 long turned between centres and a small spigot cut at eachend. Dave emphasised that chuck jaws hold best when contacting a circle and this is usually when the jaws are just a couple of mm open - so we need to take care when cutting spigots for our own chuck. From the cylinder mounted in the chuck Dave marked off about 1/3 from the headstock and parted off the other 2/3 using a fine blade saw to cut the last few mm cleanly. He hollowed out the base, then mounted the 2/3 for the tall top and hollowed that out a little deeper. He then dated the two parts, numbered them 1 and 2 and put them into a box to store for about 3 months for the wood to relax and prevent warping. He mounted the short base from a matching pair in spalted beech that he had prepared 3 months earlier and marked the jaw position so it can be taken off and remounted in the same position easily. He then cut a lip with a parting tool about 8-10 mm long and hollowed out further to thin the wall. The long lid was then mounted - the external diameter of the base measured and this was transferred onto the lid so a tapered groove could be cut inside this mark. The groove is less deep than the lip so there is a space left to fit a ring of contrasting wood later. The lid is then hollowed further to a depth of about 50 mm. He repeatedly tested the "fit" with the base and adjusted until it went on but was jammed tight. The base was remounted in the chuck and the lid "jammed" on. At this stage there is a groove visible around the diameter at the join where the contrasting ring will be added. The outside profile was then completed to the droplet shape. The outside should be sanded and finished at this stage but Dave chose to use a hand drill with brass wire brush to texture the surface across the piece. The ring was made from a piece of walnut, turned down to a cylinder, grooved to the outside diameter of the lip, tested for fit and then parted off and fitted tightly onto the base of the box. The base was then remounted gently in the chuck and the ring shaped with a small spindle gouge to a smooth bead shape. The lid was then fitted and the ring thinned down until the lid fits nicely. A few small beads were then cut in the top 25 mm of the droplet lid for decoration. Dave then reversed the base with the ring into the jaws to lightly finish the base and used a point tool to decorate it with a line. You can make a jam chuck to do this if the base doesn't fit the jaws.
 |
 |
 |
 |
Dave provides tuition in his Somerset workshop - not far from Yandles.
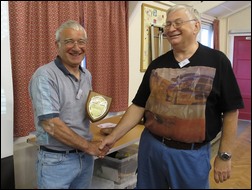
After three interesting and successfully completed projects the evening came to a close and Arthur voiced our universal view that Dave showed fantastic tool control during the demonstration. It was a well received and very useful evening with techniques and tips for all levels of turners.
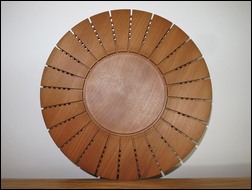
This month's Show and Tell theme was - A Pierced or Lattice Work Item.
 |
 |
 |
 |
Unfortunately, this was not well-supported - nevertheless, both entries were excellent pieces of work!
Dave Branscombe entered a finely turned and pierced platter.
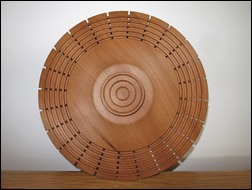
This month's winner was Arthur Kingdon with a lattice work platter (very much in the 'style' of Rod Page) made from a reclaimed drawer front in a timber known as Satin Walnut (American Red Gum).