
Dave Branscombe - Demonstration May 2020 - a Lockdown Project
|
Dave Branscombe was scheduled to present the live demonstration on the Club Night for Wednesday 13th May 2020. Obviously, this had to be cancelled due to the Covid-19 crisis.
The project was intended to show some general bowl turning techniques - mounting and holding the workpiece, outside profile and hollowing to achieve a thin wall - with particular emphasis on finishing the foot and base of the bowl with a 'button' in the base. Dave has proceeded with the 'demonstration' from the comfort of his workshop and documented the processes. Well done and Thank You! |
|
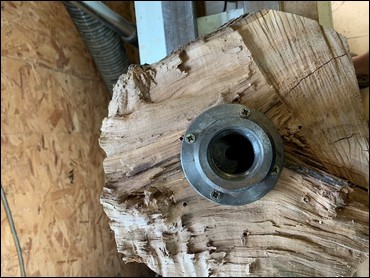
| This is piece of apple that I’ve been meaning to do something with for about 15 years – so it is well seasoned and actually quite hard. I had a couple of attempts to mount it so that it was reasonably balanced on the lathe (it was given to me having just been freshly abused by a chainsaw!) And then I sensibly decided not to ignore the huge split and went for a smaller end product. Initial mounting on a small faceplate. |
 |
| Start working on it (using a ½” bowl gouge, swept back grind) and create a tenon for mounting in a 4-jaw chuck |
 |
| Refine the tenon with a 3/8” gouge |
 |
| Back to the ½” bowl gouge, pull-cutting to create the shape (and create a waste area which will eventually be the foot of the bowl) I also brought up the tailstock steb centre for some initial support, as well as it being a handy reference for later. |
 |
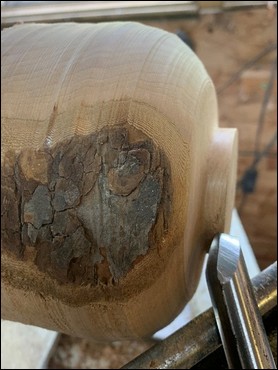
| A starting shape. I was having a challenge getting a smooth cut – if it feels wrong then it probably is – so I decided to reverse the piece when I realised that the screws holding it weren’t really up to the job and the piece was flexing whilst I was turning. Create another tenon for my gripper jaws. |
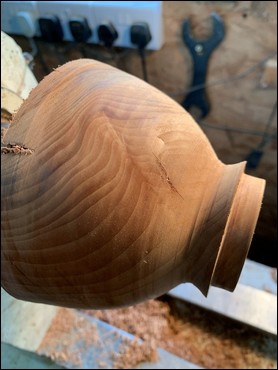 |
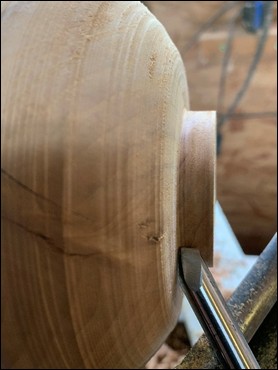
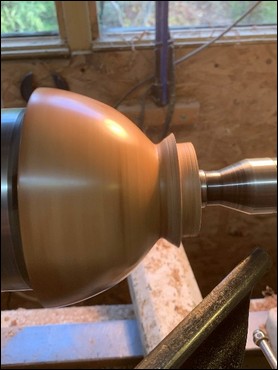
| Now, with the piece reversed (and more stably held in the chuck), I can refine the shape until it’s ready for (wet) wax sanding. |
 |
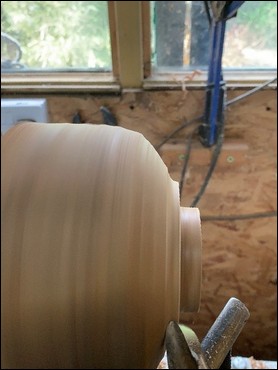
| So now we have a much nicer shape and finish |
 |
| … and I can start hollowing My bowl gouge of choice is the ½” one – it is double-ended in a locking handle - one end is a swept back grind and the other is “half-and-half” 60 degrees with the heel removed at 45 degrees |
 |
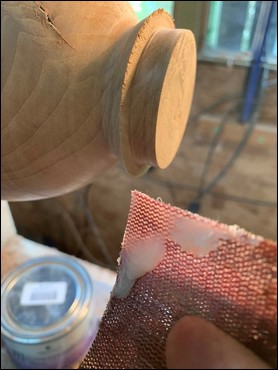
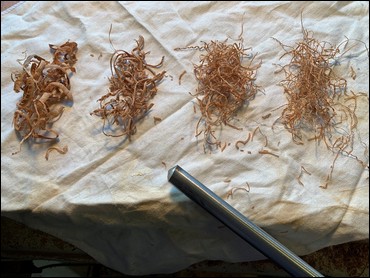
| By varying the presentation of the cutting edge you can get a variety of cuts - from aggressive through to fine and their associated shavings Sand and finish the inside of the bowl. There are a distinct lack of photos at this point - not that I needed both hands for the gouge - it was because I needed both hands for the sanding! When turning thin you start to get a lot of chatter (usually by trying to keep a constant pressure / bevel contact and ending up pressing too hard) - this creates a "decorative" internal feature. I have found that sanding the inside alone won't always get rid of it so what I usually do is put pressure on the outside (using a gloved hand) whilst at the same time sanding the inside from 80 grit down to 320 grit. However, the apple was so hard that it was starting to melt the rubber on my grippy gloves as it was getting quite warm. So what I tried for the first time was sanding the inside as usual (80 down to 320) and actually continuing to sand the outside, first with 400 and then 600, so that I could maintain enough pressure to remove the chatter marks - quite successfully as it turned out. It's a bit like patting your head and rubbing your belly at the same time - as you're trying to keep both sanding hands moving in opposite and random directions! |
 |
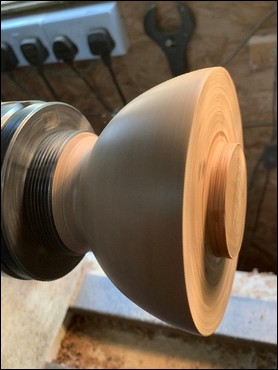
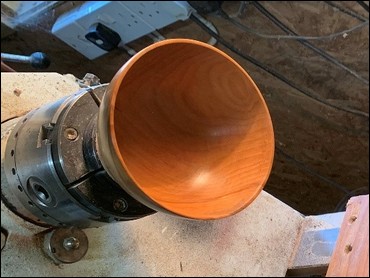
| View on the inside of the bowl - all ripples and marks removed - finish sanded to 320 grit |
 |
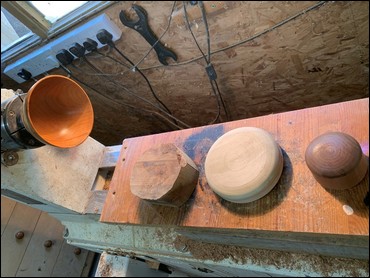
| Finishing the underside of the bowl and removing the foot was going to be the main part of the May demo. This involves the use of a former/ support to locate the inner surface of the bowl and the tailstock centre to hold it in place. Over time, a collection of these can be created and saved for repeated use. I didn’t have one that fitted well (especially as it’s a thin bowl) so I decided to make one out of a grotty piece of oak (and now I know why I kept it for so long) |
 |
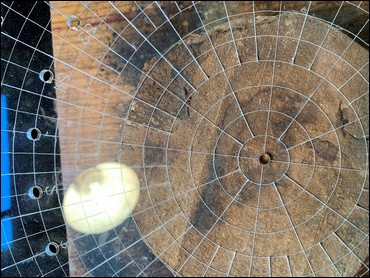
| Find the centre (I used a Jennie Starbuck multi-use center finder) |
 |
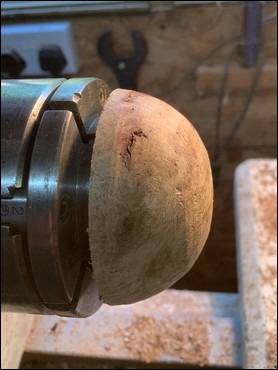
| … and then mount and true it up. Create a suitable fixing for your c-jaws, and if you make a mistake, (which I did) do it again until it’s right |
 |
| Now I’ve got something to work with |
 |
| I then (gently) stuffed the bowl with some of Aldi’s finest non-slip matting/ padding and remounted it, bringing up the tailstock steb centre for support, with sufficient pressure to drive the piece. |
 |
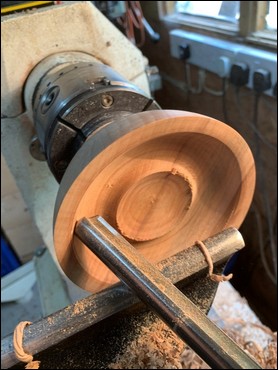
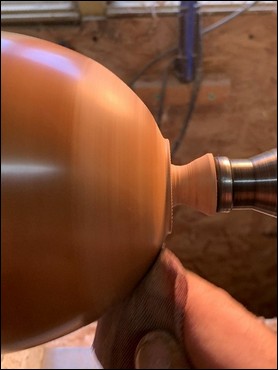
| Remove of the tenon and most of the waste area and create a neat, small foot. Blend in the bottom of the bowl to the existing profile and finish sand |
 |
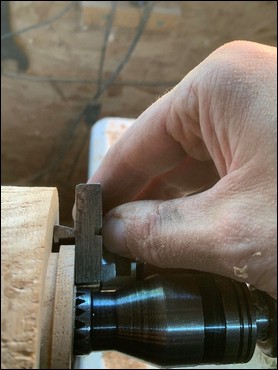
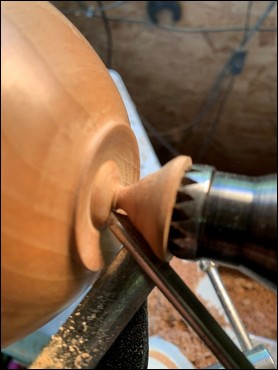
| Undercut the foot of the bowl (probably a bit more than you might normally because we’re going to create a button and it still needs to sit below the outer rim of the foot – unless you actually want a wobbly bowl!). Switch to a small spindle gouge (this one’s ground to about 60 degrees so that I can get in there and still get a bevel rubbing contact) Work from the inside out first, so you can get a decent definition at the edge of the button |
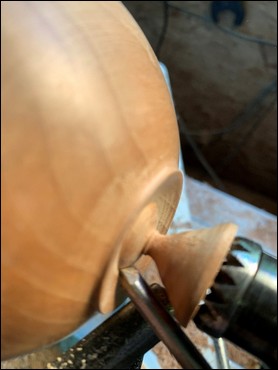 |
| … and then switch to “outside in” to define as much of the rest of the button as you can (safely) Clearly, you haven’t got much wood keeping this bowl on the lathe (so go as close as you dare) In the end mine broke, but I was lucky - it didn’t ruin the top of the button |
 |
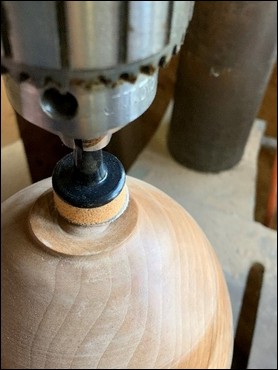
| Finish the button using your preferred method - here I have a foam sanding pad held in a pillar drill |
 |
| … and always do the final touching up by hand |
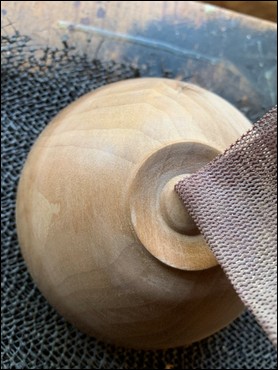 |
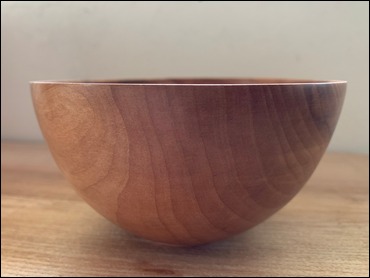
| Apply sanding sealer to the button/ recess as required and the final finished bowl is complete |
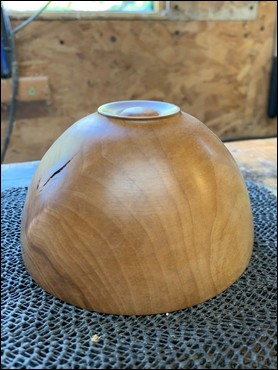 |
| The finished bowl in apple wood. Outside diameter is 4 ½ " by 2 ½ " tall - general wall thickness is approx. 2 mm. The foot is 1 ½ " diameter and the button is ¾" diameter. |
 |
|
|
|
<Top of Page>