
Club Night Report
Wednesday 14th October 2015
Club Night Report for 14th October 2015 - observations by Vernon Hughes
 |
 |
 |
 |
 |
 |
 |
 |
 |
 |
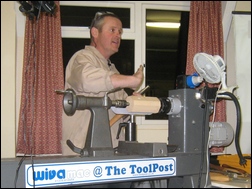
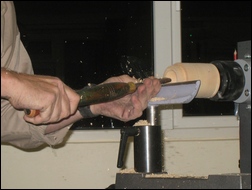
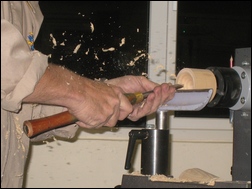
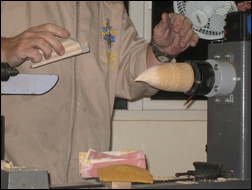
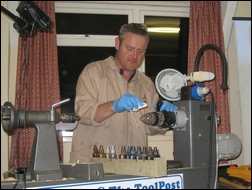
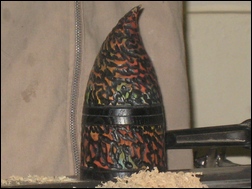
The subject for the evening was to be one of his signature pieces of which he has made about two hundred. He showed an example of the uniquely shaped (bent top) and decorated box with push-fit lid he was about to make. Starting with an Ash blank 7" long by 3'' square - before the corners had been removed with a bandsaw with table tilted to 45°, it was mounted between centres. 'Think outside the box' when designing boxes he interjected; allow the imagination to wander! 'Turn at the fastest speed you can manage' he advised, to get the best (sandable) finish from the tool. He promptly converted his octagonal blank to a cylinder with a minimum of deft sweeping passes with a large roughing gouge, working right to left and left to right alternately. He took the opportunity to advise that we give thought to the length of bevel on our tools, opining that many are too short. When grinding to achieve a longer bevel work from heel to tip.
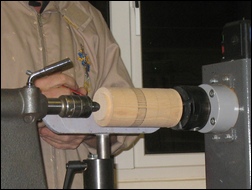
Spigots for chuck mounting were cut at both ends of the blank and it was marked in pencil to indicate 5 sections before parting off at the selected position (i.e. 2/5 ths and 3/5 ths) leaving the top/ lid in the chuck. He mentioned though that a piece should always be examined before parting off to ensure that any interesting features are exposed to best advantage - or a defect (knot?) avoided, although that principle did not apply in this instance. His design provides a lid that is (unusually) much larger than the base, and having the male section on the lid; it would normally feature in the base to maximize the space for contents in the box. As an aid to concentration it seems best now to focus on describing the main stages in the order of work to provide a clear pathway to completion for anyone wishing to make a similar box. This will be followed by details of methods and tools/ materials used plus such other generally helpful hints and tips that my blazing pen managed to record!
 |
 |
 |
 |
 |
 |
 |
 |
 |
 |
 |
 |
 |
 |
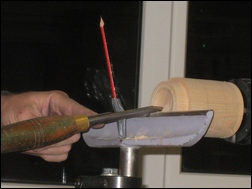
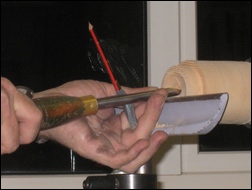
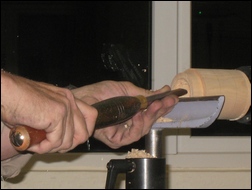
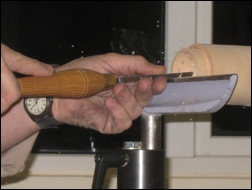
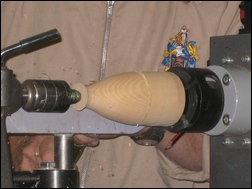
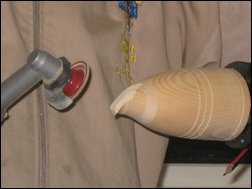
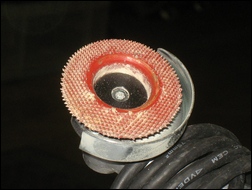
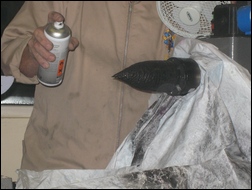
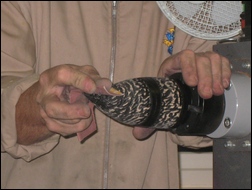
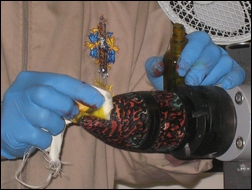
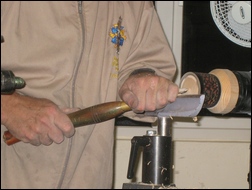
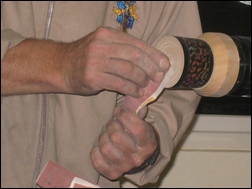
The first action was to complete the inside of the lid, work being done with finesse and minute attention to detail. Les introduced us to his (patented?) "Magnetic Pencil" attachment - simply put - it's a 'flute position indicator'. A very interesting item - and a source of amusing stories... Upon completion the lid was replaced in the chuck by the smaller section of the parted blank that would form the base of the box. It was hollowed out to the same immaculate standard as the inside of the lid, and shaped at the rim to accept the lid with a very tight fit. External shaping was then achieved. With the lid firmly fitted onto the base the tailstock was then brought up to provide support during external shaping of the lid. The first stage was to create a 'milkbottle' form and the audience was invited to give opinions as to how the highly unusual shape would be achieved from that. It emerged that off-centre turning was NOT the answer, and that the shape would be obtained simply by dexterous use of a 'Proxxon' mini angle grinder (or any other chosen shaping tool) worked with the piece still chuck-mounted. It was rotated by hand as necessary. 'Punctuation' rings were created to provide two small distinctive areas that would not be textured. Sanding had been, or was then, undertaken to ready the box for decoration. Texturing was achieved with a 'Dremel/ Proxxon' tool that works nicely at about 20,000 rpm (nearly as fast as Les's wpm) - along with a ball shaped cutter. Decoration was started with ebonizing lacquer in lieu of the usual blowtorch and sanding was done to expose the high spots for colouring. Spirit stains (from small bottles) were then applied in the order of red, light blue, orange and finally yellow (they do not show up on the black areas). The next stage was to ease the fit of lid to base using a very thorough and detailed sanding process. Finally, the base was reversed onto a softwood jam chuck (this must always be softer than the timber being used for the project), to finish the underside to the same standard as that achieved throughout. It was made conventionally slightly concave to ensure stability in the standing position and the base was marked with two concentric lines for optimum effect. Three can work but more look plain wrong. Well - there we are; that's how you do it! Now let's backtrack to pick up in order on any fine points recorded on the night.
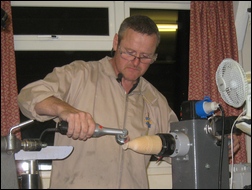
On design - Les commented that what looks right IS right; rules are OK but not absolute. En-passant, he reminded us that a parting tool tip should never drop below the centre-line. He called attention to the small fan (attached to the lathe headstock by a magnetic arm) that served to disperse dust. He also threw in the thought at this point that 'YouTube' is a 'fantastic' medium - but advised that it should be visited only after experience in turning has been gained. During hollowing he used a spindle gouge, a teardrop scraper and a 'French' long-curved scraper incorporating a negative rake. The result of his sensitivity of touch using the scrapers was immaculate - "vibration is a scrapers worst enemy" and "just take the paint off...". Les discussed at some length the making of depth holes before hollowing and took a stance against using a spindle gouge for the purpose because the tool becomes hot and blunts quickly so that after cooling even more time has to be lost to re-sharpening. When applying spray finishes be sure to follow the instructions on the tin and hold back at the specified distance - go closer and spoil the job. How long do they take to dry? - he wondered; the drying point is always achieved about one minute after you first touch the surface! Use meths to clean up after staining.
At this point, rather abruptly, I can stay my hands on the keyboard. As the Hampshire reporter found, there was more but this should give a strong flavour of the evening's magnificent main course. Warm thanks Les! Very much appreciated by all present!
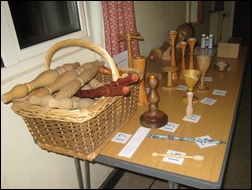
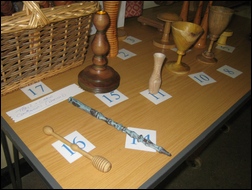
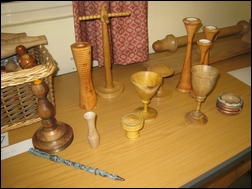
This month's Show and Tell theme was - A Spindle Turned Item. This was well supported with the 'table' full of varied and interesting items.
 |
 |
 |
 |
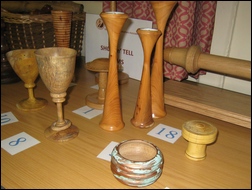
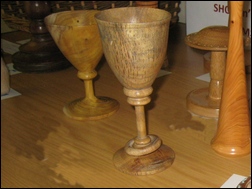
| Joe Kerrawn's goblets in Oak and Mullberry were well favoured, in (joint) third place |
 |
| Richard Branscombe was runner-up with a matching set of napkin rings in Spalted Sycamore |
 |
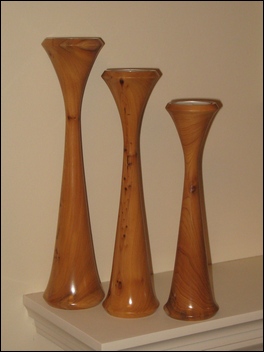
| This month's winner was Harry Rock with a set of three tea light holders in Yew |
 |
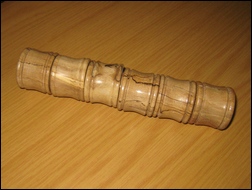
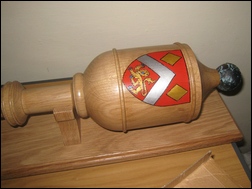
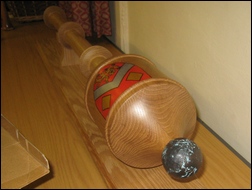
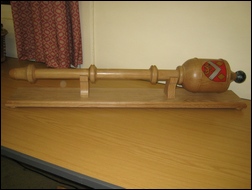
Some early pictures of the 'Mace Project' - not fully competed at this stage...
 |
 |
 |