
Club Night Report
Wednesday 13th May 2026
Club Night Photos for Wednesday 13th May 2026 - Guest Demonstrator: Paul Sweet
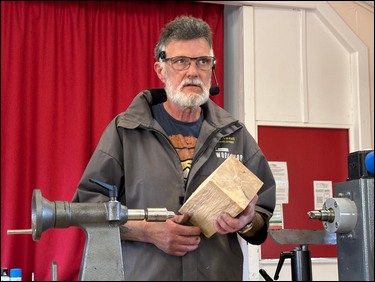
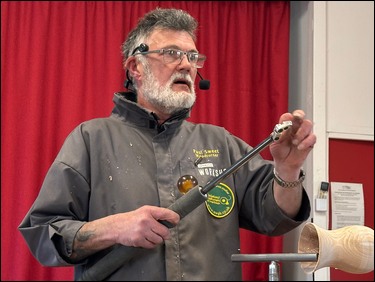
Observations and photographs by Arthur KingdonThe demonstrator for the May 2026 Meeting was the welcome return of Paul Sweet who last visited us in May 2025. This would be his fifth visit to our Club.
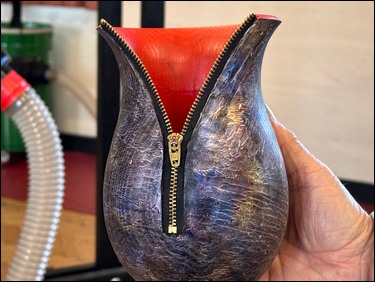
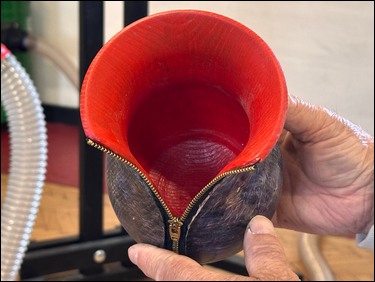
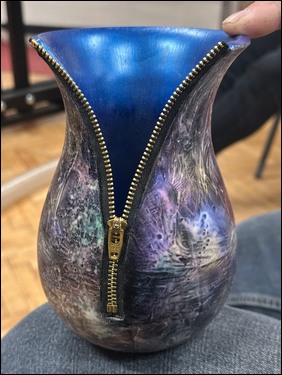
Tonight's demonstration was the making of a Vase, which would be turned, hollowed, cut, coloured and then have a decorative zip inserted. Paul advised that this was the first time he had done this demo, so anything could go wrong! He showed an example of what he was intending to do and, in true Blue Peter fashion, he showed us that he had brought a spare in case of disaster.
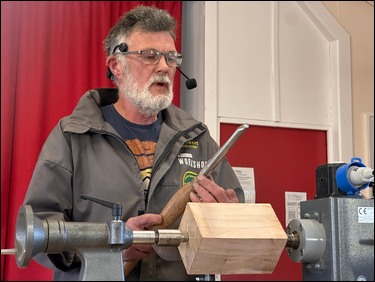
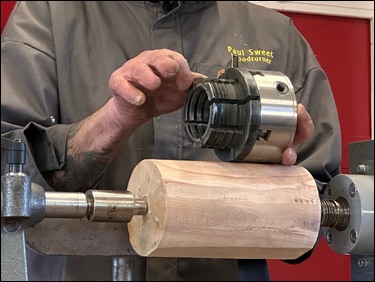
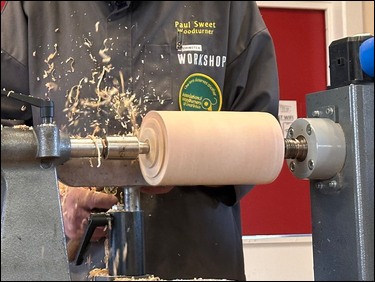
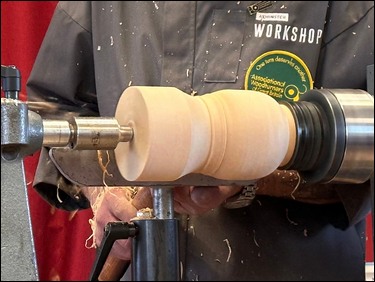
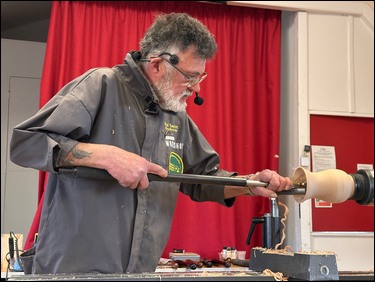
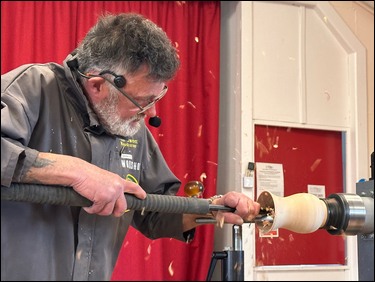
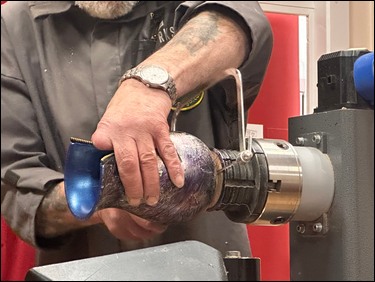
Paul started with a blank of beech 4" square by 8" long. This was held between centres with a 4-prong drive centre and a revolving cone centre in the tailstock. To reduce the blank, he would use a ½" bowl gouge with a 50-degree bevel. He stressed that a spindle roughing gouge could be used but, having once had a tang snap, he preferred to use a bowl gouge. A spindle speed of around 1000 rpm was selected and, standing to one side for safety, the blank was quickly reduced to almost round using the side wing of the bowl gouge. He recommended not to reduce it to fully round as the blank would next be held in a chuck and may not run exactly true.
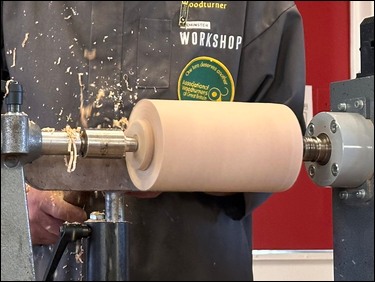
A tenon was cut to suit Axminster gripper jaws, which can accommodate long parallel tenons. The blank was turned to fully round and then shaped using a smaller bowl gouge. There were no hard and fast rules for the shape, so this was done simply by eye. The end was trimmed with a bowl gouge, although a parting tool could be used.
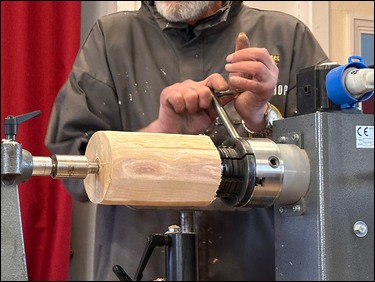
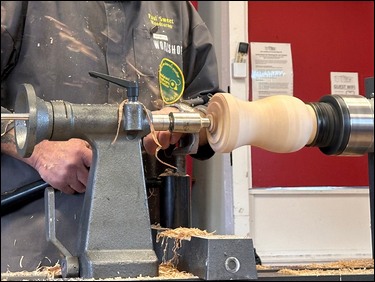
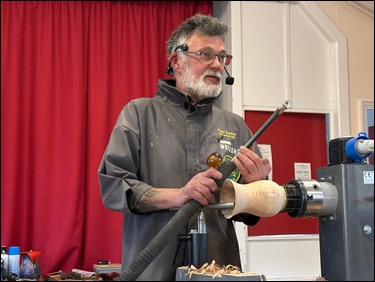
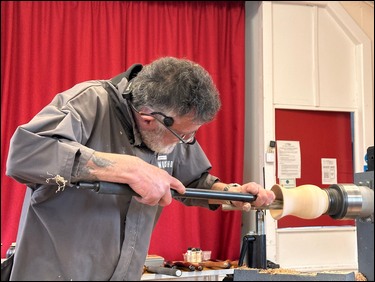
The blank was intended to be hollowed to around 3-4 mm wall thickness but, firstly, a hole was to be drilled to slightly less the depth required. This was carefully measured and then marked on a 32 mm diameter drill. This was a drill with a shank that had been custom reduced to a number 2 Morse taper (they do not make such large diameter drills with 2 MT shanks). With the lathe speed reduced, drilling commenced. If steadying the drill by hand, do not hold by the flutes (Paul's top tip)! Regular clearing of the flutes is needed and, if it is binding too much, remove some wood using a hollowing tool.
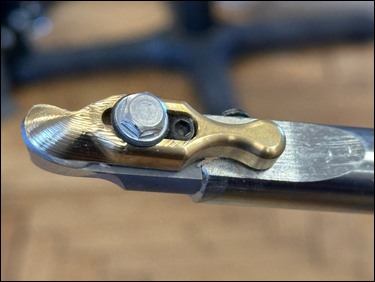
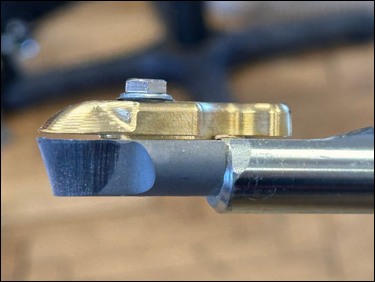
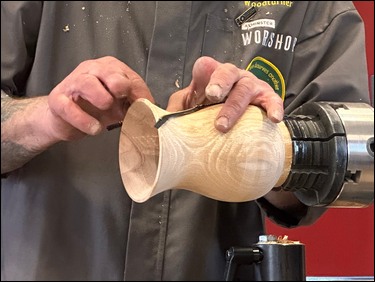
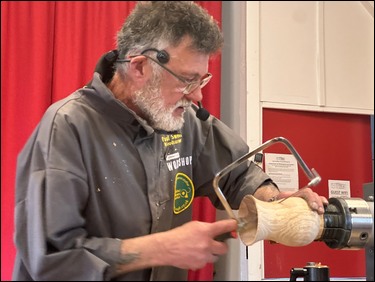
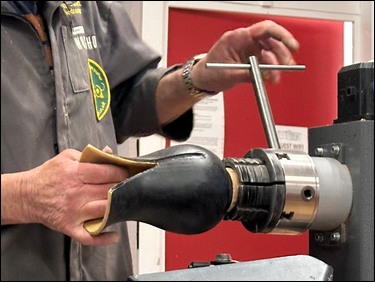
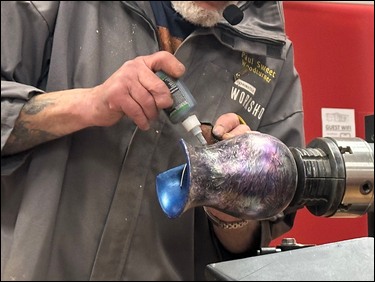
With the drilling almost complete, it was time to start hollowing. This was achieved using hollowing tools by Woodcut and by Rolly Munro. The cut would be started high on centre and then the handle lifted as it got deeper. A round tool rest was used, as that could be inserted into the vase as material was removed. The final bit of drilling was done to a depth that left a thicker base for stability. The final hollowing was done as cleanly as possible as sanding inside would be difficult. The outside was now sanded.
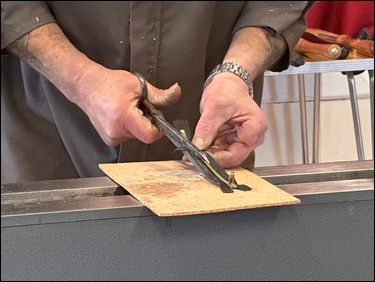
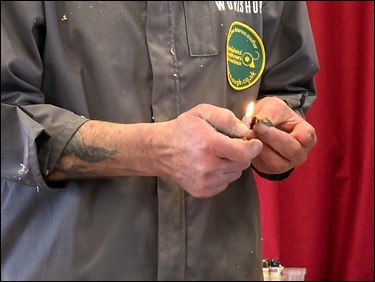
A 6" zip with black fabric was to be used but first the sides were trimmed to reduce the width of fabric. The trimmed edges were sealed by flame from a lighter. The trimmed zip was partially opened, taped into place and a pencil line drawn around the edge. The cut line was drawn 3-4 mm from this line and the position of the clasp was marked. Using a coping saw, the wood was cut away. The next step was to create a shallow recess to accommodate the zip. This was achieved using a mixture of various blades and burrs driven by Paul's Mastercarver Micro-Pro machine (alternatively, a Dremel could be used).
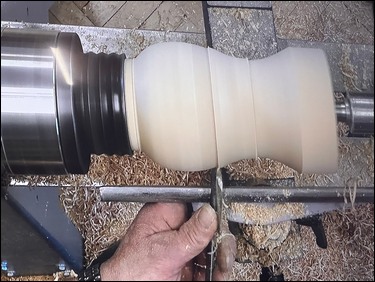
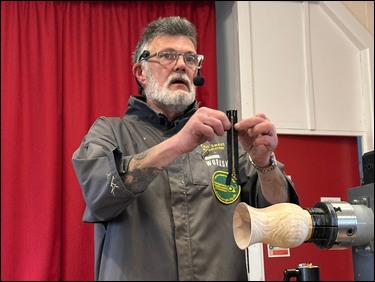
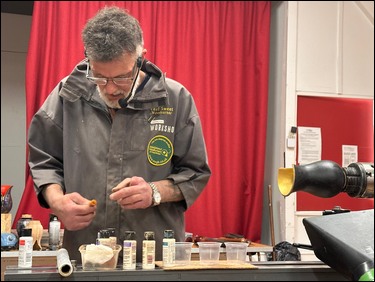
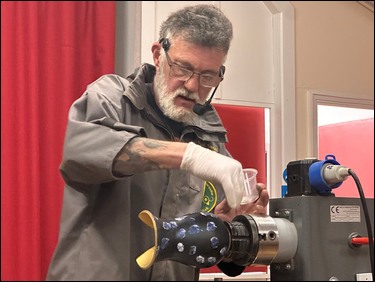
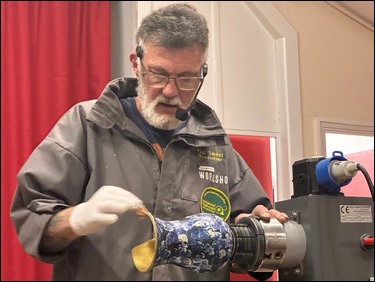
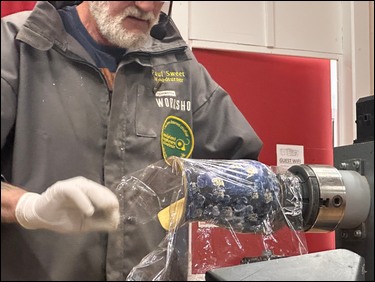
The second part of the demonstration started with the colouring. A black base was always best for the outside but the inside could be any colour desired, although Paul mentioned that, if the inside cut had not been particularly smooth, it would be best to paint it black. To avoid any delays waiting for paint to dry, Paul produced his spare vase already painted black on the outside and yellow inside. Several colours of Jo Sonja acrylic iridescent paints were dabbed at random on the outside using a sponge. This was then covered in cling film, which was pressed into the wet paint and then carefully lifted off before putting it aside to dry. A coat of Chestnut acrylic gloss lacquer would be sprayed on when dry.
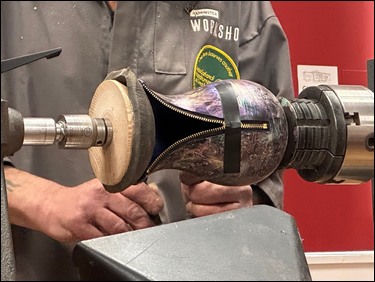
Using another vase made earlier, Paul showed how to attach the zip. This was glued in place using black CA glue. The gluing sequence was to apply activator to the zip only, then apply CA glue to the narrow end of the cut-out recess. With the zip held at one end, the rest of the zip was glued in place. It would normally be left overnight to fully harden.
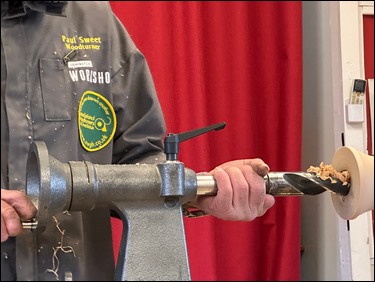
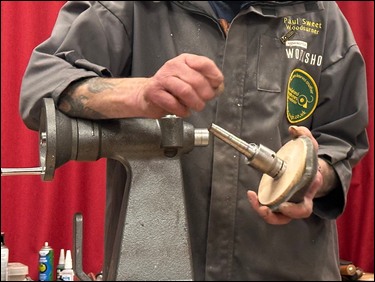
The final task was to remove the tenon. The zip was taped in place with insulating tape (for easy removal without disturbing the paint). A modified revolving centre with a padded, domed disc supported the vase while the tenon was parted off. A bit of sanding on the base and the vase was finished.
This was an entertaining and inspiring evening with a non-stop commentary throughout. There were plenty of safety recommendations and plenty of advice regarding the tools used. Paul need not have worried about any disasters; he did not put a foot wrong. He very kindly donated a vase to our charity table in aid of the Wiltshire Air Ambulance.
Thank you, Paul!
 |
 |
 |
 |
 |
 |
 |
 |
 |
 |
 |
 |
 |
 |
 |
 |
 |
 |
 |
 |
 |
 |
 |
 |
 |
 |
 |
 |
 |
 |
 |
 |
 |
 |
 |
 |
 |
 |
 |
|
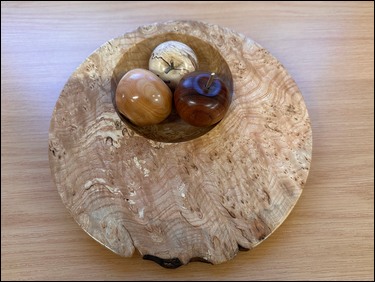
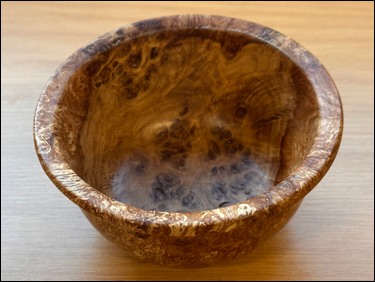
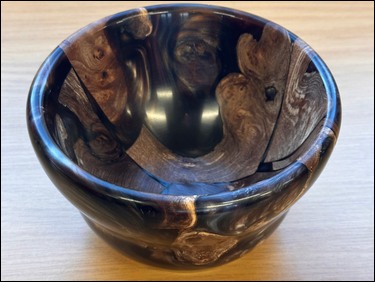
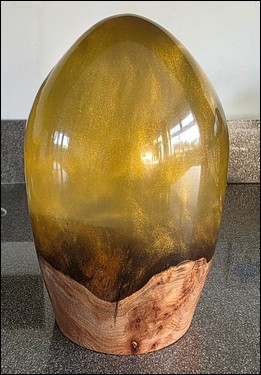
The Display Table was well supported and showed a number of interesting items...
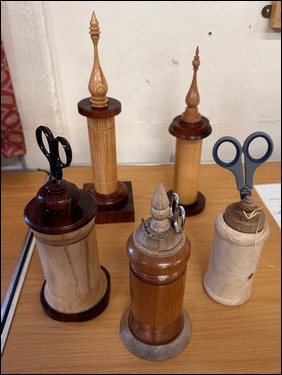
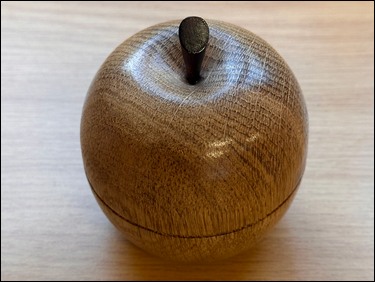
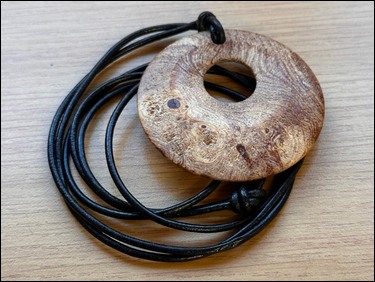
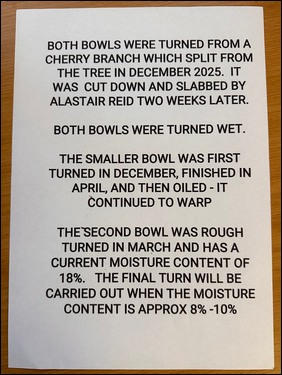
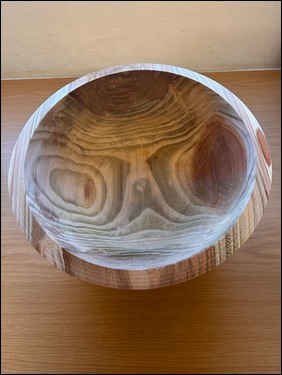
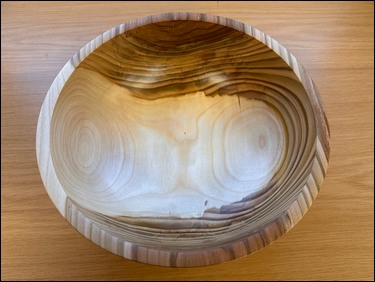
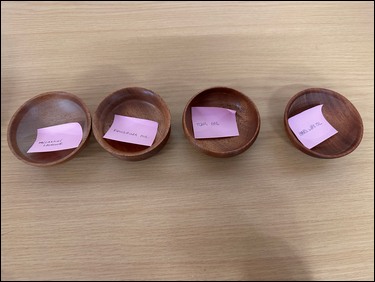
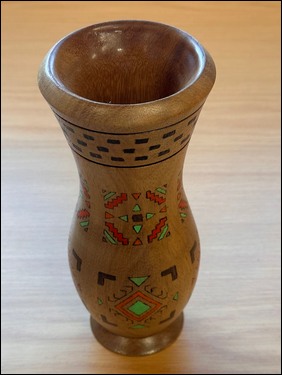
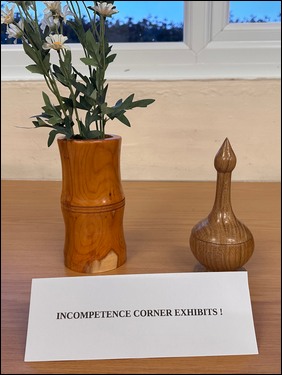
Paul Kohn showed a bird box in ash and five boxes in various woods. Three were designed to hold sewing accessories in the lid, with a hollowed interior for other sewing items. Two had finials which had been turned by Tim Mortimer. Bill Savage showed an apple box in oak and a pendant in an unknown burr. Tim Mortimer showed two bowls turned from the cherry tree that had come down in his garden. One bowl was finished and the other had only the first turning done and was around 18% moisture content. Dave Branscombe showed four small bowls, each with a different finish. He also showed a vase decorated with pyrography and colour. John Theobald showed a box in oak and a yew vase, which showed that he is improving every month and he had no need for a label suggesting any sort of incompetence! Well done Theo. Frans Brown showed an eccentric bowl in burr ash with three small apples. Martin Barrett showed a small burr elm bowl. Martin Leadbetter showed a cast resin and stabilised burr elm bowl. Also, another cast resin item and stabilised burr elm ornament (or a paperweight) - approx. 170 mm tall by 110 mm wide - which took about half a gallon of JDiction 50x50 resin. Both items were wet and dry sanded to 3000 grit.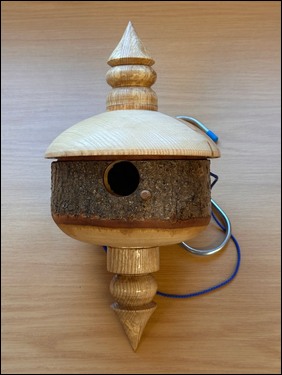 |
 |
 |
 |
 |
 |
 |
 |
 |
 |
 |
 |
 |
 |