
Club Night Report
Wednesday 13th May 2015
Club Night Report for 13th May 2015 - observations by Vernon Hughes
Demonstrator Rod Page, displaying on his smock the new badge of the Register of Professional Turners - plunged straight into the challenge of dispersing any mists of uncertainty about how to achieve turned latticework of the highest order.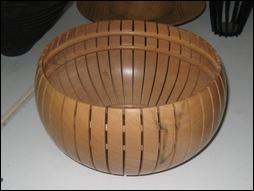 |
 |
 |
 |
He started with a PowerPoint presentation to explain how he had been drawn into latticework and to trace the history of his own development and success in the field. Any summary here could only provide a glimpse of that history though, and the best thing to do is to visit his website: www.rodpage-woodturner.co.uk - which contains a highly informative 'Biography' section, and also reveals that there is more to latticework than the bowl making planned for our evening. It will also be seen that latticework forms just one branch of his production over the full range of artistic, professional woodturning. He was at pains to point out though that he had been inspired by the work of Hans Weissflog whose website is another must for anyone interested in discovering the remarkable possibilities in this field. He also emphasized the value to be obtained from beachcombed wood which he recommends as a source of interesting timber and which he uses extensively.
Demonstration - Rod brought to the occasion an artist's eye for line and shape in the forms to be made; an ability to explain the
 |
 |
 |
 |
 |
 |
 |
 |
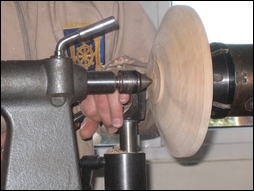
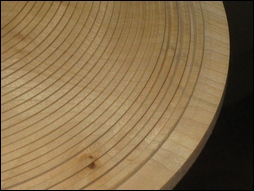
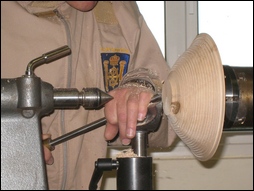
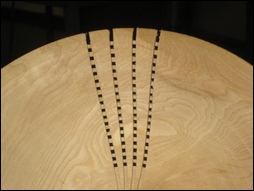
The first blank brought into play was approx. 8" diameter by 2" thick of nicely marked Sycamore. The underside was turned to a pleasing line and then used to show how marking out is achieved across the full reverse face. The marking out was achieved using the grooving tool he later use to cut the actual grooves. He then cut the first four rings (grooves) to a precise depth and width with the two-point (grooving) tool on the underside before that blank was demounted and passed round for examination. It was explained that if any cuts are too deep it is possible at this stage to achieve correction by turning off the excess with a bowl gouge, but care must be taken to preserve curved lines and avoid any flat areas. It was emphasized that the twin-point grooving tool must be kept very sharp and must be re-sharpened unfailingly after two rings have been cut, or after every ring on a larger piece. Rod uses a Tormek slow speed grinder with water bath so as not to burn the very thin points of the tool. The thickness of a finished lattice bowl should be a constant 5 or 6 mm, the internal surface therefore repeating exactly the line created in shaping the underside.
 |
 |
 |
 |
 |
 |
 |
 |
 |
 |
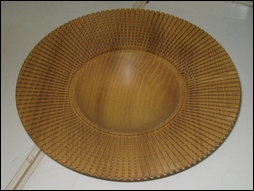
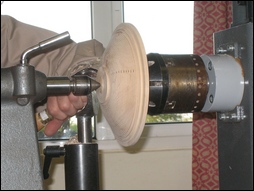
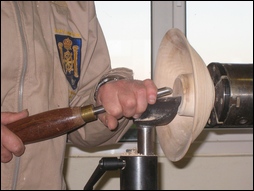
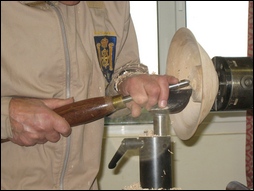
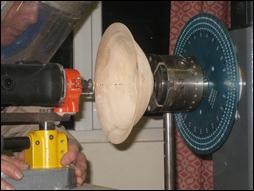
Rod then mounted a somewhat larger blank (say 10" diameter) with the underside already completed. This was for the purpose of showing his way of turning the inside, using the unique calipers to check thickness constantly. The secret to thin turning is to complete a small section at a time starting from the rim. Another partially pre-prepared blank of say 8" diameter was then mounted for use at the router cutting stage - but Ron first dealt with the method of removing the base spigot and replacing it with a dovetailed recess, reverse mounting onto small dovetail jaws to deal with a large residual internal spigot and marking/ cutting a centre circle to define the router entry starting point.
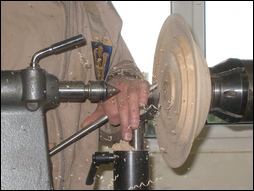
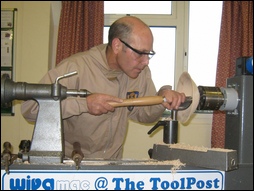
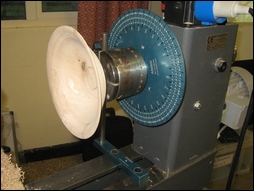
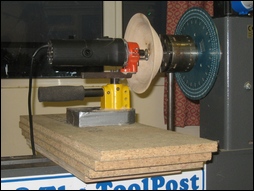
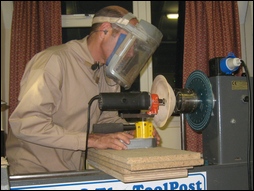
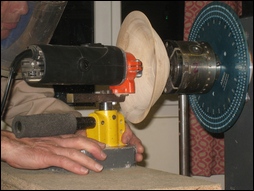
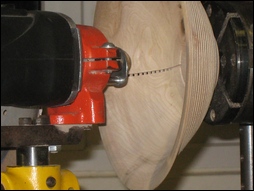
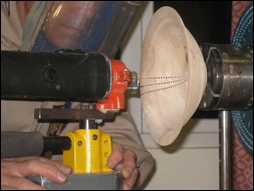
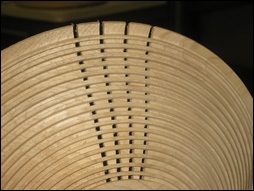
It was then time to set up the 144-position indexing ring complete with setting post, the router stand and the router. There were to be 48 radial router cuts on this particular bowl - starting at the inside centre and carried through to the rim, each being at 90° to the series of ribs on the underside of the bowl. He completed four such cuts to demonstrate the action using the router - starting at the centre and pulling back towards the rim following the bowl profile and controlling the depth of cut with the router depth stop. This emphasised the importance of precise setting of the depth stop - and a heavy base on the router to prevent any 'rocking' as it moved against the bowl profile. The router cutter was 2 mm diameter - solid carbide with 2 spiral flutes, fishtail design with .125" diameter shank - designed for use in the printed circuit board manufacturing industry. These are currently sourced from Lamargroup in Dundonald, Scotland.
See website: www.lamargroup.co.uk/products_
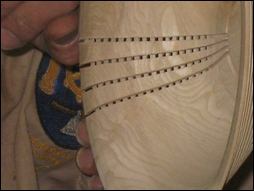
drillsrouters_routers.php (Authors Note: definitely not the friendliest of sites - requires registration to download specifications…). In the event, Rod had to tweak the cut slightly deeper to achieve a clean penetration. Sufficient rim width had been left to allow for sanding away any slight tear-out but he clearly did not regard that as a serious risk. Upon completion of the 48 radial cuts only light finishing sanding would be necessary to achieve a fine finished product.
The evening ended with an enthusiastic question and answer session and clear realization that we were all a jolly sight better informed about latticework than we had been at the start. The strong applause had been well and truly earned.
 |
 |
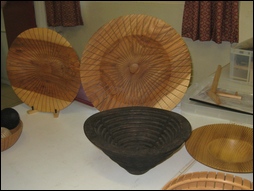
The Show and Tell theme for the evening was: A Sphere or a Square - this was not particularly well supported - but all of the entries were of excellent quality!
| This 'demonstration' piece by Bob Sawyer was not entered into the Show and Tell - but was an example of how he saw the project - a split sphere mounted in a square on a modern angular base | 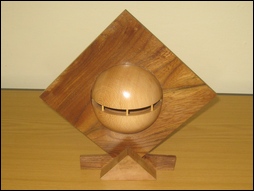 |
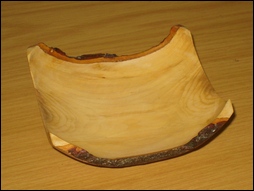
| Second place went to Richard Branscombe with a fine Singapore Ball resting in a hemispherical square edged dish | 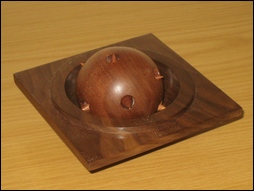 |
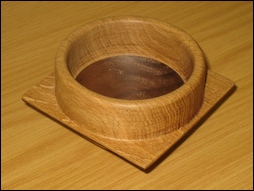
| This month's Show and Tell went to Harry Rock with three spheres on stands. The largest (4" diameter) was in Oak with aluminium inlay to fill a number of cracks, and two in Yew. | 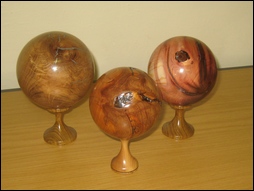 |