
Club Night Report
Wednesday 12th March 2014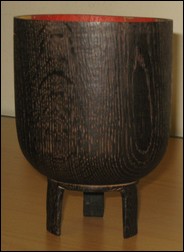
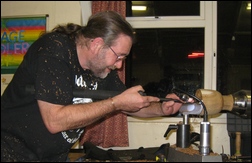
Our demonstrator for the evening was Mark Hancock (www.markhancock.co.uk)
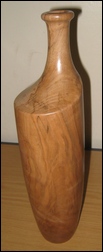
Mark started off by talking about what he was going to be demonstrating to us this evening - A LEGGED VESSEL; which would encompass, parallel grain turning, hollowing, carving, eccentric turning, ebonising, colouring and much more! A semi-finished example of a legged vessel was displayed to show where we were going… He also set out the 'rules' for the evening:
- He was not going to attempt a gallery quality piece - but would show all of the techniques necessary
- Ask as many questions as you like
- If you feel like you are getting a bit bored - look at the photograph album he passed around!
Mark has an interesting take on 'woodturning terminology' - he does NOT like: between centre turning, pen turning, spindle turning or
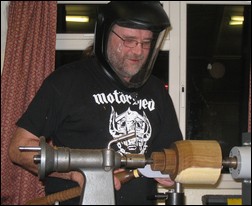
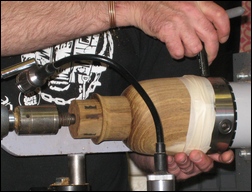
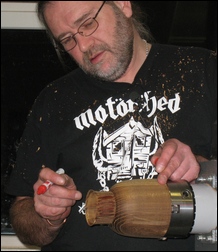
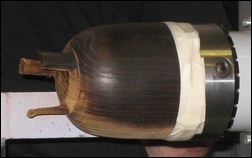
He started with a wet blank of Laburnum - approx. 5" diameter by 8" long - and hammered a 4 point drive centre into the end - the tailstock end was supported by a revolving ring centre - so as not to split the grain. HINT: use a plumbing olive or a small washer to 'convert' your point centre into a ring centre. When asked about the use of Steb Centres - Mark commented that they were 'OK - but expensive'…
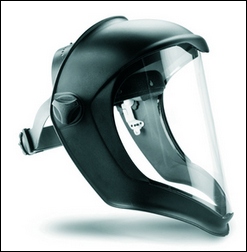
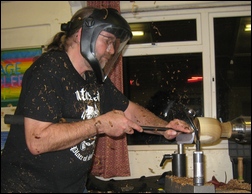
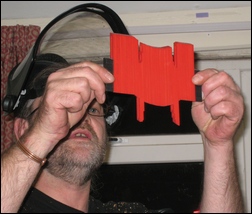
Safety was given a high prominence throughout the demonstration. Mark firmly believes (and practices) in the use of a full face visor - NOT just safety spectacles or goggles.
The blank was turned to a round and rough shaped with a 3/8" bowl gouge and a spigot produced. NOTE: always use a spigot (not a recess) - which provides a more secure hold on the workpiece and allows for a better design - without the limitations imposed by a recess (diameter). If timber
 |
 |
 |
  |
 |
 |
Mark discussed his use of 'wet wood' - easier to obtain and turn, it's cheaper, has more character in the timber (as opposed to kiln dried wood) - and how an 'even wall thickness' was the secret to preventing splitting in the finished piece. Sycamore, Ash, Walnut, Yew and Cherry will all dry very well, without splitting, provided they have an even wall thickness. He makes extensive use of a set of Veritas Thickness Calipers (see here: www.axminster.co.uk/veritas-thickness-calipers). Expensive (?) at around £56 - but, 'worth the cost' - quick to set and use, accurate and gets the job done.
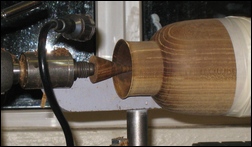
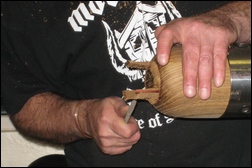
The end of the piece was faced and the outside shape refined. Mark showed an interesting use of a cabinet scraper ("a brilliant tool that does not cost an arm and a leg") - cut down to an oval shape - about 2 1/2" by 1 1/2" - which he used to refine the outside curve. He uses it straight from the grinder to create the cutting edge burr - and it does not seem to matter which side is used to do the cutting!Mark used a shielded hollowing tool manufactured by Rolly Munro ("probably the best hollowing tool available"). See this link for details: www.toolpost.co.uk/pages/Dummy/MunroTool/munrotool.html
(NOTE: there will not be much change left from £200!)
The part was hollowed in steps close to the finished wall thickness - then a shear scraper was used (also a Rolly Munro creation).
 |
 |
 |
 |
 |
 |
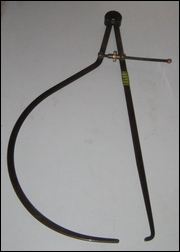
Now that the legs were ready to be marked out and cut - Mark discussed the aesthetics of 'smiley and sad bowls' - grain directions/ patterns and the orientation of the legs - open at the front and one at the rear. Three or five legs will work equally as well from a design stand point. Mark out the legs 'by eye' - there is no need to be too precise - so that it looks 'hand made' and not machine made. A small pull saw was used to cut out the recesses that formed the legs - and a rasp to complete and blend the legs into the base curve.
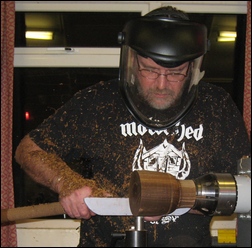
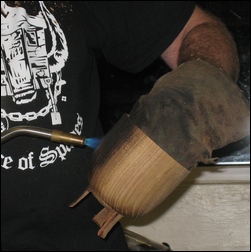
The next technique shown was ebonising (or burning) of the part. This was used as a finish - not to destroy - but to protect the timber and to impart a lovely tactile feel (similar to leather) to the item. In order not to distress the wood during ebonising - Mark used a gas torch that burns at a very high temperature. See here for details: Map Plus Gas (25% hotter than Propane) is available from Toolstation, Cheney Manor Ind Est. Swindon. Order Code: 71066 (Price: £10.78)
www.toolstation.com/shop/Hand+Tools/Soldering+Torches+Accessories/Map+Plus+Gas+Cylinder+400gm/d10/sd3158/p71066
and Torches - Order Code: 36574 (Price: £39.81)
www.toolstation.com/shop/Hand+Tools/Soldering+Torches+Accessories/Piezo+Ignition+Turbo+Torch/d10/sd3158/p36574 (many thanks to George G. for the research)
 |
 |
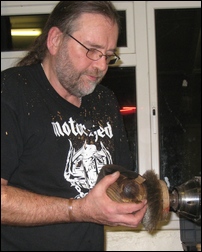
Mark then used his 4-jaw chuck to turn the piece off-centre - by removing all of the jaws and then replacing them 'out of order' - i.e. jaw order - 1, 3, 4 and 2. Jaw number 2 will be 'out of line/ round' by about 4mm. The bowl was then re-mounted on the jaws - and was now running eccentrically - again taped on for security. A 'vee' cut with a skew chisel was used to cut through the wall of the piece. Use this technique to cut multiple slits through the side wall - rotate the piece - change the amount/ angle of eccentricity - make the cuts staggered (but, balanced) - just be creative! Mark showed the use of (in this case) red acrylic paint in the slits - and gold leaf on the inside (gilding).
Mark has kindly supplied a document that describes the gilding process - click HERE to download a PDF copy.
At this point in the evening, Mark had 'over run' by around 25 minutes! A clear indication of his dedication and enthusiasm for the subjects shown! I think that we all enjoyed his presentation immensely. A splendid evening, full of humour, hints, tips, techniques, advice, good practices, processes and superb skills on display. I have a feeling that Mr Hancock may be paying us a return visit in the not too distant future…
<Top of Page>
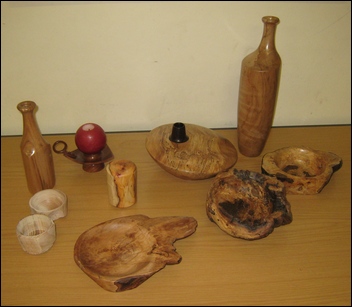
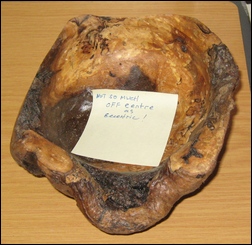
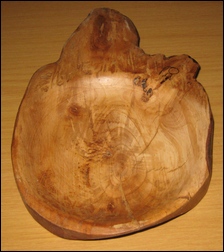
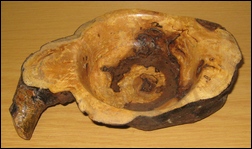
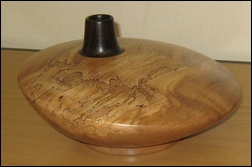
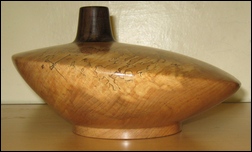
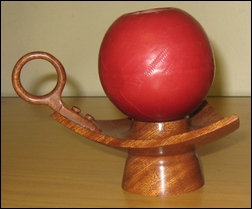
The Show 'n' Tell theme for the evening was Off Centre Work - this was well supported with varied and interesting items on display.
 |
 |
 |
 |
 |
 |
 |
 |
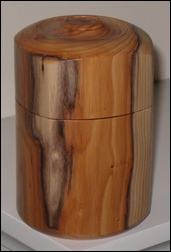 |
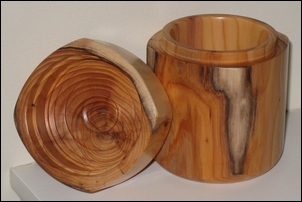
| This month's winning entry was a 4-sided box in Yew from Harry The box is 2 5/8" 'across flats' and is 4" high |
 |
|
<Top of Page>