
Club Night Report
Wednesday 15th July 2015
Club Night Report for 15th July 2015 - observations by Vernon Hughes
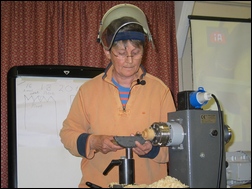
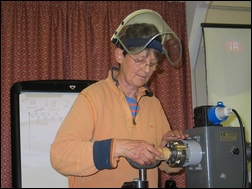
Our demonstrator for the evening, Jay Heryet rpt, Artist/ Wood Sculptor, has been turning for over twenty years, since discovering a lathe by chance whilst attending a more general woodworking course in New Zealand. As explained in the biography on her website www.jayheryet.co.uk - she felt an instant attraction to the creative prospects offered by the woodturning lathe. Audiences such as NWWA are the highly fortunate beneficiaries of that fortuitous encounter. Attendance at one of the 'Axminster Tools' shows in UK - and seeing Bill Jones and Alan Batty in action, led to the fascination with thread chasing.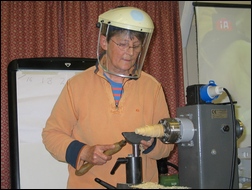 |
 |
 |
 |
 |
 |
Throughout the presentation there was a constant flow of hints, tips, advice and instruction. However, one gem of simple logic that came quite late in the demonstration is highlighted here due to its outstanding value to those at the start of their thread-chasing careers. Jay advised that long thread lengths are fine for practice but short ones are unquestionably best for everyday articles in use. It can become positively irritating to have to keep on twisting to remove a lid or top. Therefore, go for short threads!
 |
 |
 |
 |
 |
 |
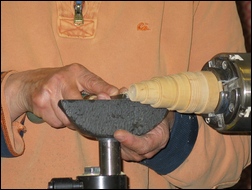
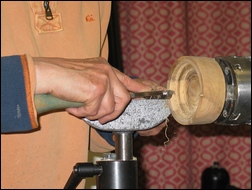
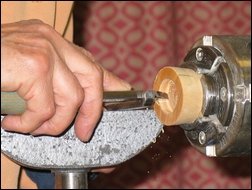
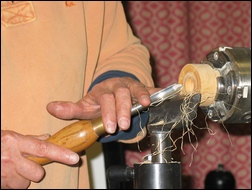
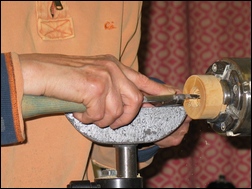
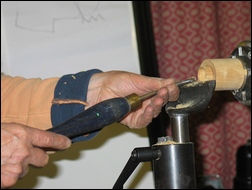
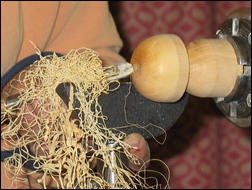
For starters, Jay mounted a Boxwood 'practice piece' which tapered down in steps giving five surfaces with external threads already made at each level. So familiar is she with what most of us find a challenge that she neatly removed a thread with a skew whenever that particular surface was required for demonstration, knowing that she could promptly make another one as a matter of absolute certainty. 300 rpm was recommended as an ideal speed for chasing, although some folk do succeed at other (higher) speeds. It was explained that the index finger should be placed along the line of the blade when the tool is in action. With a plain surface on the 'spindle' to be threaded the corner should be rounded off/ chamfered (a little) to ensure a smooth start and a narrow groove should be cut at the end of the thread to allow the chaser a small clearance to run into as it reaches the end of its travel. At the start, the chaser is brought to the chamfered end at a matching angle up to three times before it is straightened square to the work. The movement is right to left of course. The shape of the cutting action is crucial - a circular scooping motion and has to be practiced hard. 'When the thread is right the work will whisper to you' said Jay. For a left-handed thread move the tool from left to right; it is easier to move into a space than up to the usual shoulder.
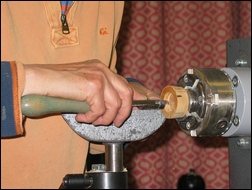
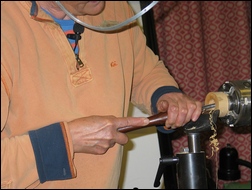
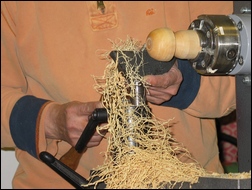
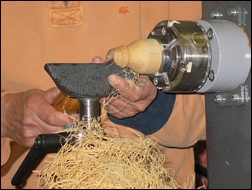
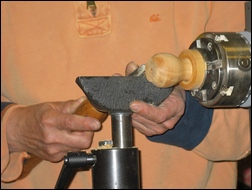
Moving on to inside cutting using the essential arm-rest the first point made was that the walls for the thread must be parallel. When using the arm rest, the chaser is 'locked' into the hook of the arm rest - which is then slid - as a unit - along the toolrest. As with external work there must be an undercut groove at the end of the thread. Again start at an angle and then straighten so that the teeth are square to the diameter being cut. In this case darkening of the timber will indicate that full depth of cut has been achieved. A left-hand internal thread can be cut by using the reverse direction of travel, as with the external thread.
 |
 |
 |
 |
 |
 |
 |
 |
 |
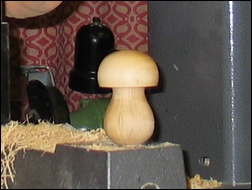 |
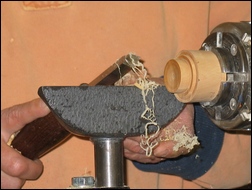
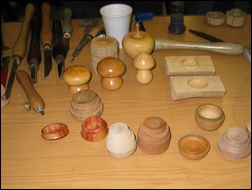
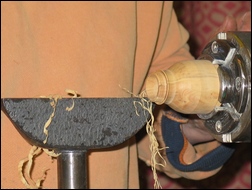
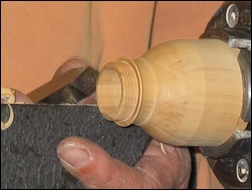
A short cylindrical blank for the lid (i.e. make the internal thread first) was held in a 4-jaw chuck and the inside of the lid was hollowed and threaded internally. A longer blank was then mounted and hollowed out and a neck was prepared and threaded externally for the lid to screw onto. The lid was then screwed on and shaped. With the lid removed further shaping of the base was undertaken before removal from the chuck. A pre-prepared, internally threaded wooden collar (a threaded chuck) was then mounted in the chuck and the bottom section of the box was screwed into it to permit completion of shaping. With the base unscrewed from the collar and the lid screwed on - the handsome box stood proudly on its artistically dimpled base.
A vital part of the process was ensuring that the threads in the two components of the box matched perfectly. This was achieved by measuring the internal diameter of the lid and adding 2 mm to arrive at the starting diameter of the spigot (neck) to be threaded and onto which the top would be screwed. 2 mm can be used as a general guide but there is a finer precise formula if required. When the two threads do not fit each other perfectly it is necessary to remove the tops (crest of the thread) of the external one and this should be done with a skew before re-applying the chaser to cut the thread a little deeper. The neck can also be tapered very slightly. Jay achieved this rapidly and easily but for the beginner it will be necessary to practice and develop experience, feel and touch in getting it right.
A few further points made included the fact that an overlong thread can be shortened. Grain matching (typically, near the end of the box-making project) can be achieved where appropriate by either increasing the length of the undercut/ shoulder on the external thread or by removing material from the lid/ internal thread - remembering that one revolution gives the pitch and that paste wax makes a thread move sweetly but also causes it to tighten a little further. The timber used must be thoroughly dry - so allow drying time during the project if necessary. Note that the fewer the teeth on a chasing tool (threads per inch) the faster the tool must be moved! When shaping a box pay attention to the aesthetics of design; be sure to get the curve right and that it produces 'the shape that it is meant to be'. When creating a distinctive signature shape in the base of a box 'make it positive as though it is meant to be there'. So speaks an artist!
What a fine evening's guidance we received! It is worth reflecting on the certainty and fine sensitivity of touch displayed, and to contemplate one's own physical and mental approach to making progress in this highly pleasing, but challenging, field of work. Two rounds of applause were not enough. Thank you Jay!
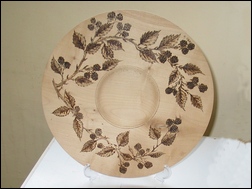
This month's Show and Tell was: An Open Theme...
This was well supported with a number of interesting and attractive items on display.
 |
 |
 |
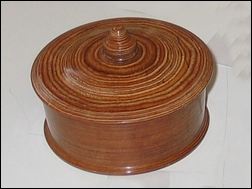 |
Bill Savage entered a couple of Boxwood "Puzzle Boxes" - where the trick is to find out how to get the box open! |
 |
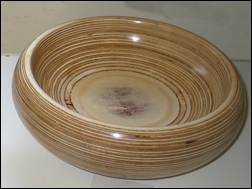
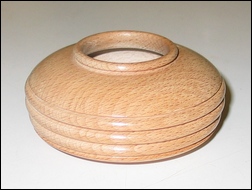
| This month's winner is David Branscombe with a very nicely turned bowl in Beech. He has donated the bowl to the Prospect Hospice in Wroughton, Wiltshire as part of their fund-raising efforts. |
 |