
Club Night Report
Wednesday 9th January 2019
Club Night Photos for 9th January 2019 - Guest Demonstrator Bryan Milham - with observations by Bryan Milham
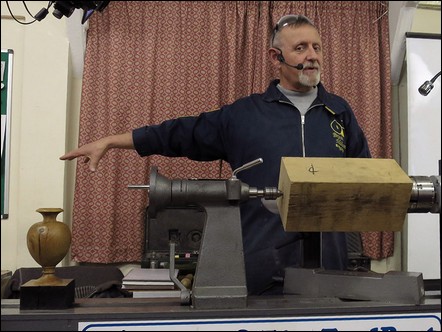
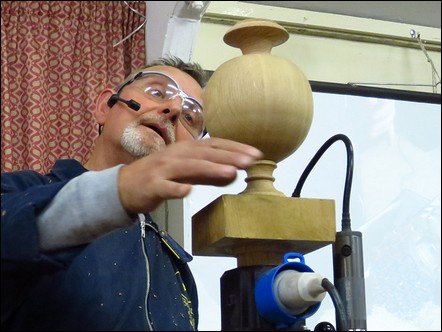
| The demonstrator for the January meeting was a welcome return from Bryan Milham - whose subject for the evening was a "Classic Form Vase" Bryan started the evening by explained that as this was his 4th visit to NWWA - he had not brought with him many of his turned items, but rather what he hoped would be a source of thought and inspiration. |
 |
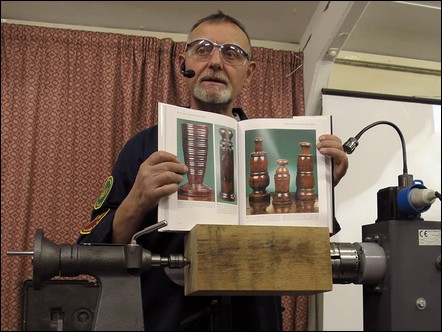
| Referring to one of his books, "Treen for the Table" by Jonathan Levi, he reminded us that our art started out as a necessity. With all villages, towns and cities having one or more turners, who made many of the everyday items we now take for granted in metal, ceramic, glass or plastic. He also showed that not every item turned in the past was beautifully turned and looked amazing. Many were strictly utilitarian and often quite ugly. |
 |
| Apart from his collection of Treen books, he brought along a couple of items from his own Treen collection: A Tobacco Pot and a set of travelling candlesticks (also known as a Brighton Bun). |
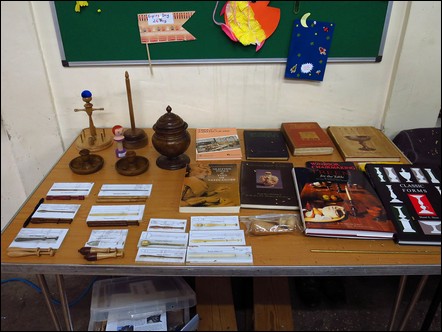 |
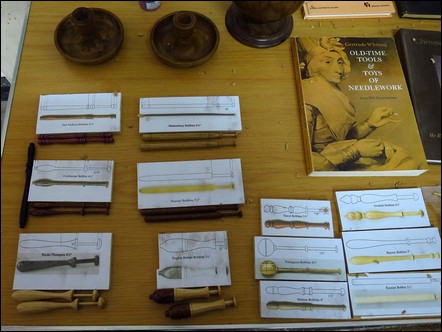
| There was also some of his own Treen, a Sewing Stand, a Knitting Wool spinner, and a selection of the many types of lace bobbins (and their story boards) that are, in many cases, still in use by the Lace Makers Guilds, both here in the UK and in many other countries. |
 |
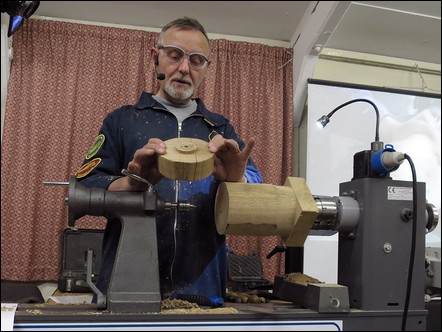
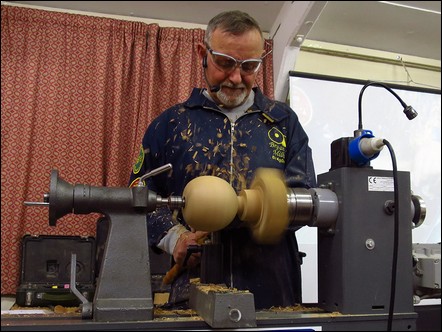
| Bryan explained that this demonstration was about giving timber a "Third Life". The first 'life' was as a Tree, the second, in this instance as a finished item: it was a fencepost. The third life was as a turned item (the fence post now being the raw material), keeping any faults, cracks or rot as part of the final piece. As some old fence posts can have hidden faults or rot that could either prevent the article being finished or worse, disintegrate causing flying debris - here (strictly for safety reasons) he was going to turn an offcut from an architectural oak beam that would otherwise have been burnt - into a Classic Form Vase. He also explained that there were some aspects of the finished piece he would not show. The base part is finished by being scorched with a blowtorch, something his insurance would take a dim view of. The scorched base, once cooled and brushed out with a wire brush - is oiled with Hard Wax Oil to 'set' the ash and ensure it does not continue to smell 'burnt' or leave little piles of ash on the shelf... |
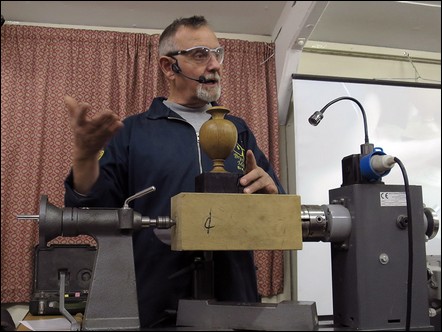 |
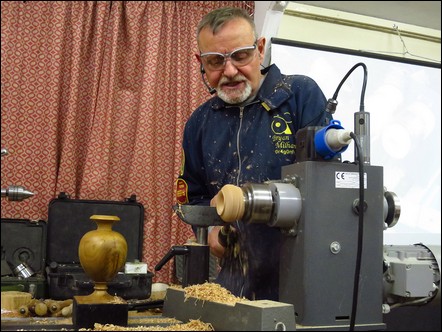
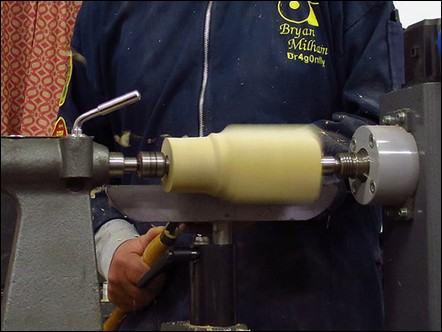
| The blank was pre-turned to form a tenon on one end, suitable for being held in a 4-jaw chuck fitted with 'gripper jaws'. The design had been drawn out onto the blank, but as his drawn design would be turned away, he had transferred it to a sheet of paper to act as a story-board for later reference. The first step was to cut in above the base as for a pommel, leaving the base section square. Then the remainder was roughed down to round. |
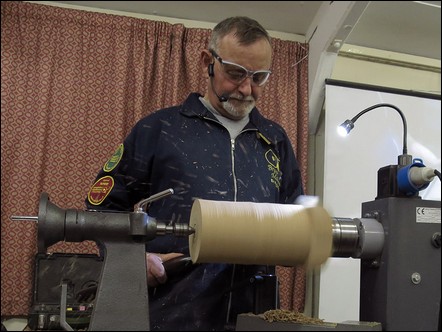 |
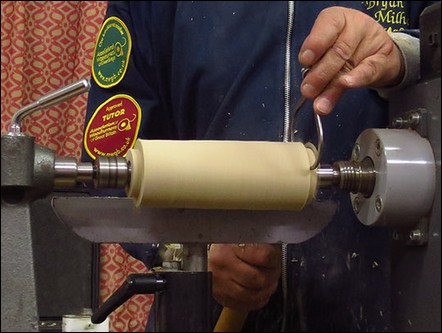
| A tenon to suit 'C' dovetail jaws was turned at the top end and a 13mm diameter hole was drilled - withdrawing regularly to prevent the flutes filling and the bit binding in the wood. |
 |
| The top portion was then cut off. |
 |
| This section will be used later to form the flared top. The reason for this is if the top's form does not suit the overall final form of the vase; another can be made from a further section of the fencepost and a different shape tried. |
 |
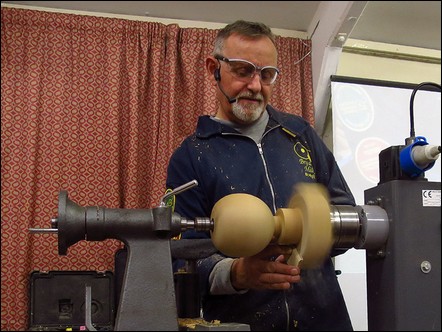
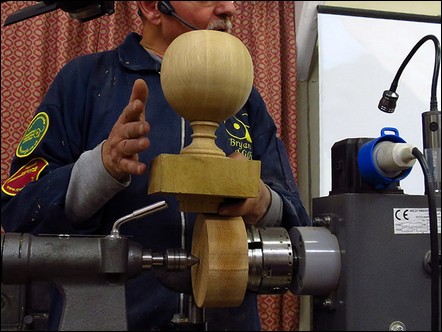
| The shape of the top part of the vase curve is then formed. The overall shape of this part should be a half sphere - basically a very large bead. A 30mm deep recess was bored, using a 30mm Forstner bit. This was to allow for the top to be remounted later. |
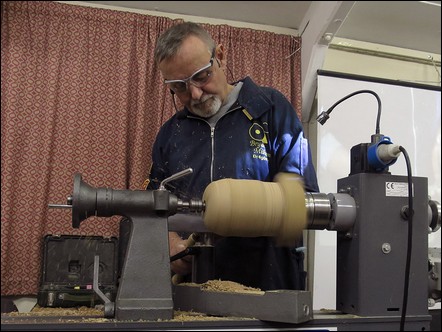 |
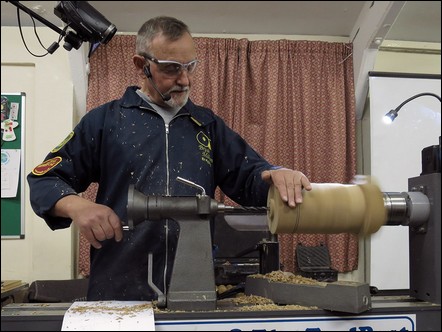
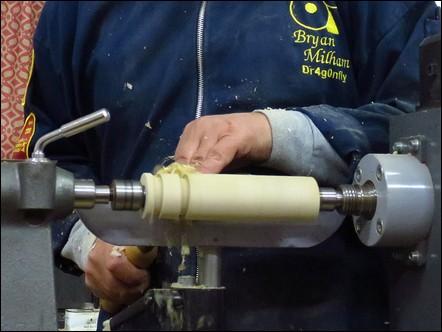
| The lower section was the cut into around the area that will eventually form the stem, joining the vase to the base. |
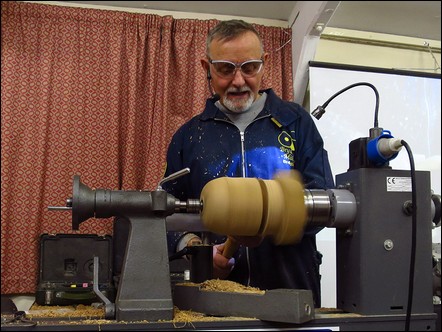 |
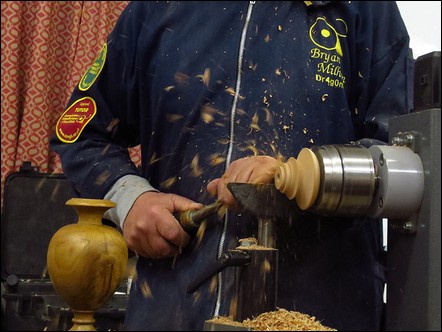
| The lower part was then formed to shape - that of an elongated bead. The overall shape should be reminiscent of an egg, pointed end down. The waste near the base was initially cut away to allow access for the tools. |
 |
| Bryan now introduced us to his sanding system. He has lengths of MDF with 2" wide Hook & Loop (Velcro) stuck to it. This enabled him to attach loop backed abrasive to it. Each length had the grit size written on the back, so there was no guessing or looking to see which grit was in use or locate the next grit size needed. Also, as the face of the abrasive can be moved all over the item being sanded, the hotspots you get with handheld (finger applied) abrasives, do not build up. |
 |
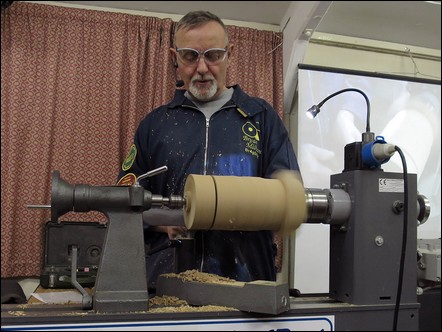
| The top of the base was then squared up. |
 |
| Then, employing the sanding boards again, he was able to work through the grits to abrade the top face and rotating corners to a smooth finish. |
 |
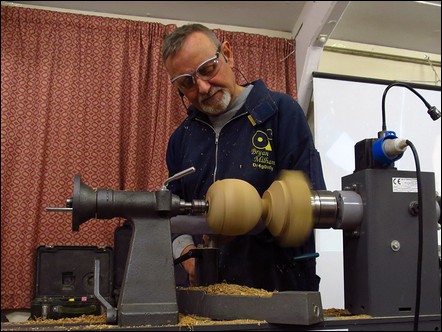
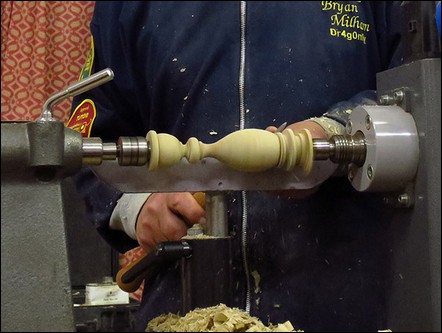
| The stem was then formed, being careful as the overhang was a bit long and the space available for tool control was tight. |
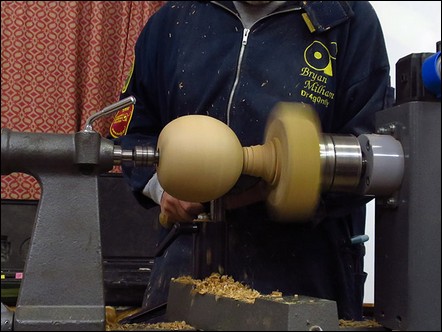 |
| The stem formed was a narrow necked bobbin. Blending to the vase with a half bead and having a full bead set into the narrowest part of the bobbin itself. He pointed out that a bead set into the narrow waist sets off the shape. But care needs to be taken to ensure that the wood either side of the bead is even in height, making it look as if it flows under the bead - or the effect will be spoilt. |
 |
| The finished vase body was then parted from the tenon. |
 |
| The chuck jaws were then changed from the gripper jaws to a standard set of 'C' dovetail jaws to hold the tenon cut onto the part turned off earlier to make the flared top. |
 |
| The design for the top section needs to look balanced with the rest of the vase form. The 'Rule of Thirds' for the width of the rim and neck thickness had to be considered and was incorporated into the shape. The height was found by experiment, to be less important, if a one third height was employed - the overall balance just looked wrong. Therefore, a height that 'balanced' the overall shape was chosen. |
 |
| The top was turned with a tenon to suit the chuck, (for later reversing) and then a quarter bead turned to form the rim. This needed to be a correct fit in the chuck to prevent 'jaw marks' being left in the timber. The inner curve was formed following down the previously drilled hole. Creating a shape that would follow the final external fluted design, yet to be created. |
 |
| The top was then reversed in the chuck and the lower part of the top was undercut and a tenon to suit the 30mm diameter recess previously cut into the vase body. |
 |
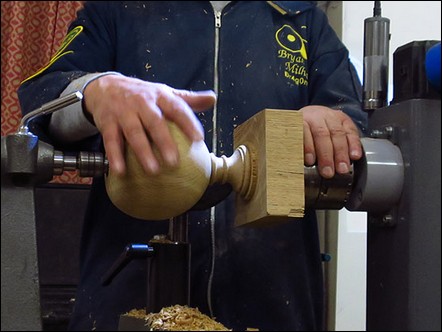
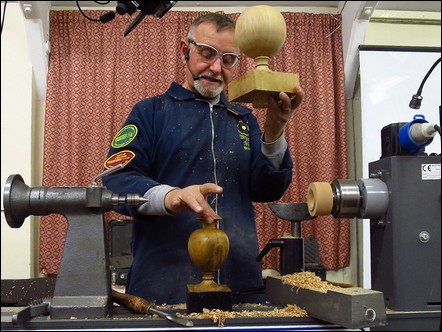
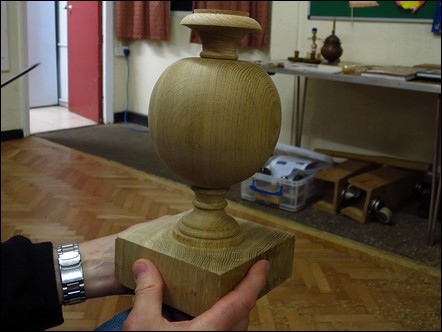
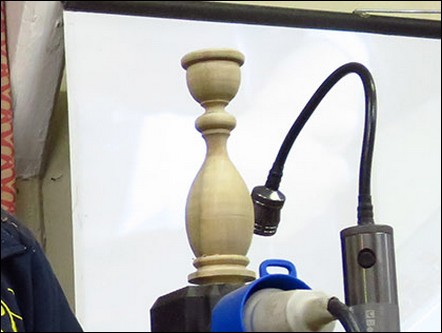
| Removing the fluted top from the chuck, it was reunited with the Vase body and the final shape revealed. |
 |
| The final finished form. |
 |
| Bryan's second piece for the evening was a 'Quick Turn'. |
 |
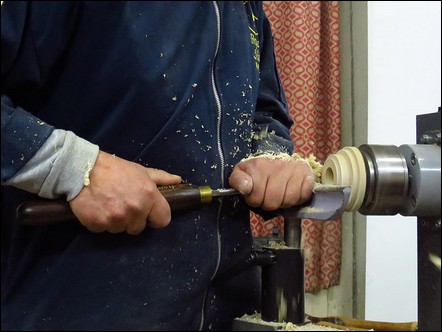
| Once the blank was turned down to round (45mm diameter) a 30mm tenon was created on one end. He explained that he was not going to tell us what it was he was making. But the fact that he had pre-drilled a 22mm recess in one end really gave the game away fairly quickly. |
 |
| Again a storyboard was employed to set the main turning transition points. |
 |
| He then "joined the dot's" to turn the shape of the body. It was here that he asked, "Does anyone know what it is yet?" Upon which a club member correctly identified it as a candlestick (hence the 22mm diameter recess…) |
 |
| Removing it from the lathe, Bryan held up the turning and noted that as far as candlesticks go - the shape was really ugly and apart from the curves, offered nothing to an attractive design. |
 |
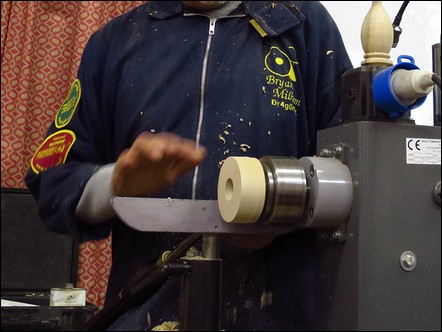
| Bryan then mounted a small blank and proceeded to turn the '2 minute base'. Flattening the top, boring a 30mm recess and squaring up the rim. |
 |
| He then put the body into the tenon to mark with a pencil the outer diameter of the bottom of the candlestick body. He used this line to identify where to cut a cove and a bead to form the base shape. |
 |
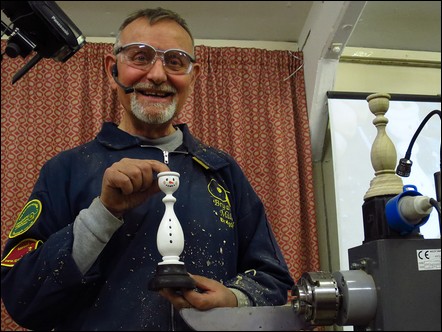
| Bryan then assembled the parts together, and with a little "Here's one I did earlier" - produced another candlestick, painted white and black. He said "With the addition of a few more dots of paint!" and turned it around to reveal the candlestick was actually a Snowman. As usual, Bryan provided us with an excellent evening that was entertaining, interesting and informative. Thank you Bryan! |
 |
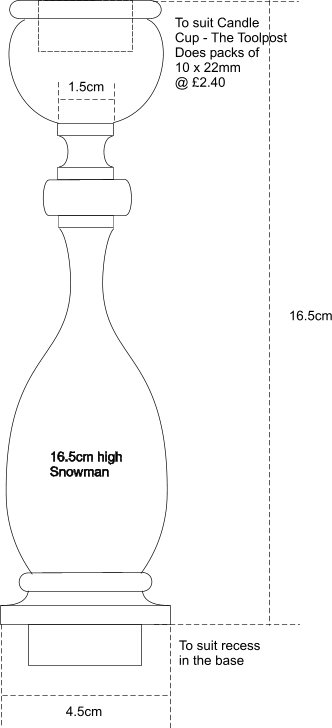
| Bryan has supplied the design for the 'Snowman Candlestick' Click HERE to download a PDF version of the picture. |
 |
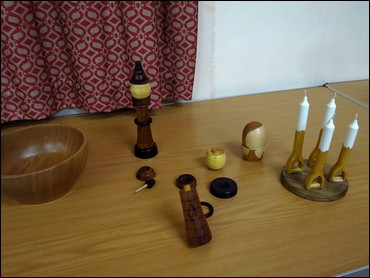
The Display Table contained a number of interesting items - particularly the four 'Fork Candles'...
 |
 |
<Top of Page>