
Club Night Report
Wednesday 11th January 2017
Club Night Report for 11th January2017 - observations by Vernon Hughes
 |
 |
 |
 |
 |
 |
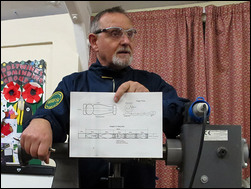
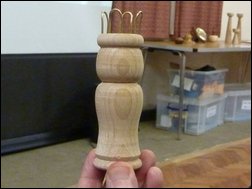
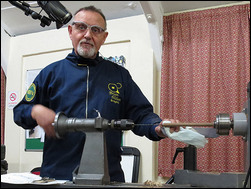
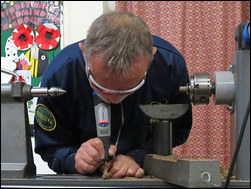
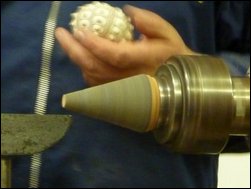
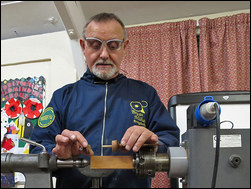
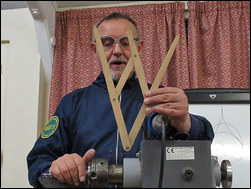
Bryan's (spindle-turning) theme was to be Toys and Ornaments although he was concerned that Mark Baker's recent book on toys and an article in 'Woodturning' magazine might have taken some steam out of the subject. There were no groans of disappointment though - so his plan seemed to have survived, and indeed as the evening proceeded that was confirmed beyond doubt. There was a stack of fine quality drawings on his table depicting two of this evening's three main items, from which we were invited to take personal copies. (Click HERE to download Bryan's PDF drawing for the Knitting Dolly and his Snapper/ Bang Stick).
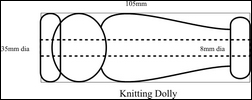
Bryan started with a Knitting Dolly used in 'French Knitting' having a finished length of 105 mm, and width at the widest point of 35 mm. He said that the 4 pin dollies were the modern version of the French Knitting Board (click here for images), which is how they knitted; and which were used to make the knitted red woollen (Phrygian) cap, (denoting liberty), most commonly seen in images of people watching executions on 'Madame La Guillotine'.
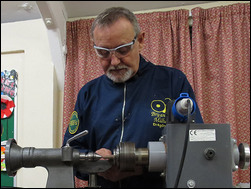
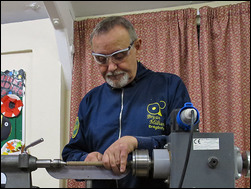
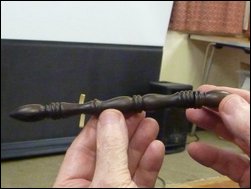
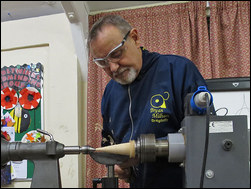
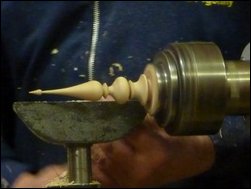
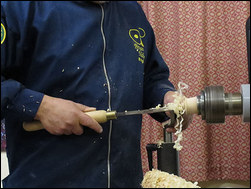
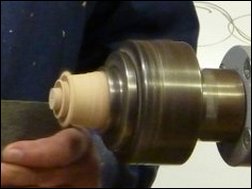
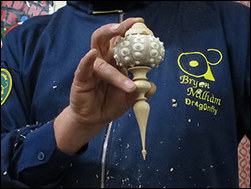
A suitable square-section Beech blank with some (eight) pre-drilled small holes in what was to be the top end was chuck mounted and the tailstock brought up for support in setting up. Rounding down to size was followed by planing with a skew and precise marking out of the low points of the design. Next came drilling out of a central, full-length, hole. Bryan spoke about the accuracy value of engineering drills with integral morse tapers and emphasised some important drilling disciplines, viz: drill slowly, back off frequently to prevent the drill going off-line and start with short drills to maximise rigidity. He added that RDG Tools (www.rdgtools.co.uk) is a good source of engineering quality drills. Turning to shaping the head, then shoulders, Bryan detected and mentioned (so matter-of-factly) that the work was 'bouncing' but the cause was unclear (read more later). Shaping near the chuck was completed with a fine spindle gouge for safety, followed by parting off. Using 65mm lengths of brazing rod, four 'U'-shapes were then formed neatly, the points of which were plugged into the holes pre-drilled in the top of the item to form four stitch-making positions (see photo). A small piece of timber about pen-blank size was then mounted in the chuck to make the handle of a stitching tool. This was tapered and then decorated with beads using his small beading tool. A small hole was drilled into the top end into which a short length of bamboo skewer was glued to complete the tool.
 |
 |
 |
 |
 |
 |
 |
 |
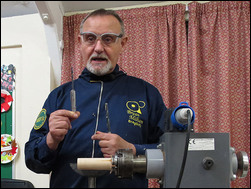
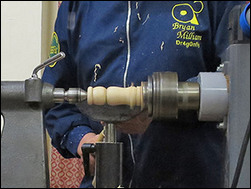
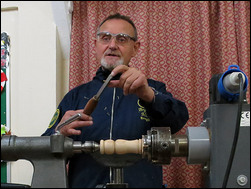
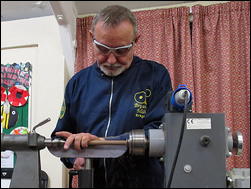
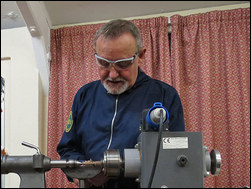
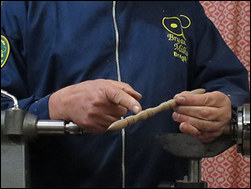
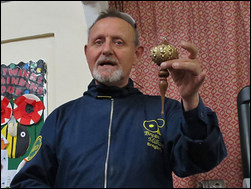
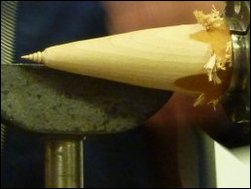
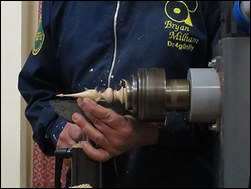
Shaping of the body was then undertaken with consummate skill, the small beading tool being used at the appropriate points (see drawing), and the end face was cleaned up. Aim to get a reasonable finish off the tool he advised to avoid or minimise use of abrasives. The main body was then parted off using a skew. The remaining short section of blank was marked out, shaped and drilled to make the working end of the snapper. It was sanded to 600 grit to achieve the essential very smooth finish. The hole for the piece of elastic band was then drilled using a 'Dremel', the line of penetration (at the thickest point of the turning) being through the grain NOT across it. A small tool consisting of a handle holding a piece of piano wire was used to push the pre-cut elastic band into the hole. This was then glued in position. A piece of bamboo skewer into which a hook shape had been cut was glued into the handle and cut to the appropriate length to get the small hook on the end in the correct position in relation to the piece of rubber band. That completed the turning and assembly of the item.
NOTE: the trick is to squeeze the polished handle so that it squirts efficiently into the hole - giving the impression that the rubber band has caused the abrupt movement, thus tempting victims of the trick to try for hours without success…
 |
 |
 |
 |
 |
 |
 |
 |
 |
 |
 |
 |
Special Note: A constant theme throughout the evening had been Bryan's emphasis on the value and use of the skew in preference to gouges wherever possible/safe. As an example that might be a useful aid to those still developing their confidence he displayed a skew marked into two halves by a strikingly accurate thick black line along its full length from tip to handle end. Both mind and eye are thereby encouraged to focus on use of the effective half of the tip.
Summing up - When we stop to reflect on it we had been treated throughout to a faultless display of fine, sensitive, confident, manual control, the supporting left hand playing as big a part as the right. This was something to take home and try for ourselves. It can't get any better can it? (Note: numerous small points have been omitted in an attempt to discipline the length of this report).
<Top of Page>
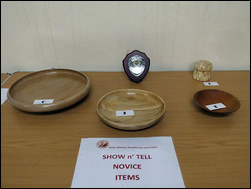
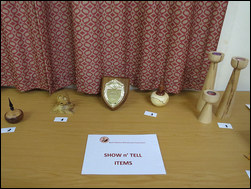
This month marked the beginning of two Show and Tell Tables - using the same Theme - with a table for Novice Category and one for the Open Category.
This months Show and Tell Theme was: An Open Theme
 |
 |
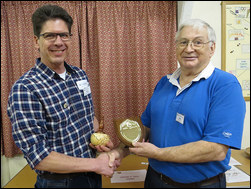
| The Winner of the Novice Category for January was Phil Tucker |
 |
 |
 |
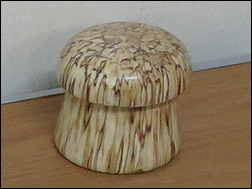
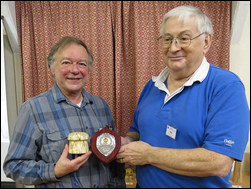
| The Winner of the Open Category for January was David Branscombe |
 |