
Club Night Report
Wednesday 15th April 2015
Club Night Report for 15th April 2015 - observations by Vernon Hughes
 |
 |
 |
 |
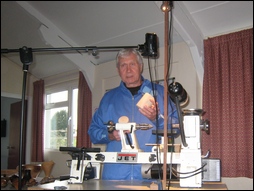
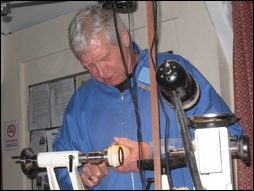
We could relax knowing that we were in the exceptionally safe hands of non-professional Colin Fullbrook (Vice-Chair Gloucestershire Association of Woodturners - www.gaw.org.uk ) who was paying a return visit after establishing a glowing reputation with us in September 2013. The subject for the evening 'Spheres and Squares' had a tempting ring to it and we were not disappointed!
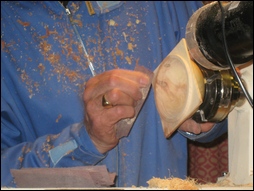
Spheres - Colin leapt straight in with a detailed description of the 'Shadow System' he intended to demonstrate; perhaps not realizing that its existence would come as a surprise to some of us at least (including me). The technique is based on an article written by an American woodturner - David Reid Smith (see - www.davidreedsmith.com). The 'Shadow Sphere Jig' article may be found here: www.davidreedsmith.com/Articles/ShadowSphereJig/ShadowSphereJig.htm
 |
 |
 |
 |
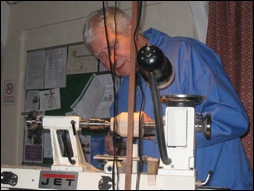
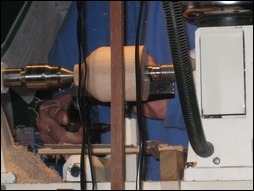
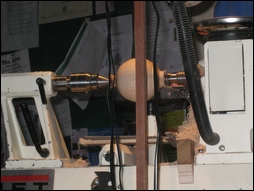
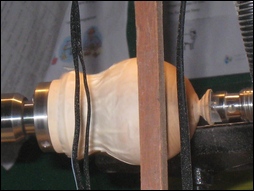
Using this technique, there would be no need to resort to jigs so often employed to control the tool in this work, although it is necessary to have an effective light source positioned at some height exactly above the core-centre of the cylindrical blank from which the sphere is to be turned. The other essentials in this work were first a simple but accurately made, thin, wooden platform placed precisely-centrally on the lathe's bed bars (and secured by imbedded magnets in his case) marked with a centre-line; and secondly, a card clamped to the platform (with creative use of clothes pegs!) on which a circle would be marked out precisely, using the platform centre-line as the starting point for describing the circle. The diameter of the cylinder (mounted between centres employing a rotating cup centre in the tailstock) should be ¾" to 1" greater than that of the sphere to be made. The light (from above) casts a shadow onto the card and the idea is to turn away that part of the shadow that is larger than the marked circle as viewed from the front. It is easily written but it seemed miraculous that Colin could execute the task perfectly, and seemingly effortlessly, with just a spindle gouge and without resort to the scraper that many of us would reach for to perfect the curve and remove toolmarks. With two small residual stubs at the head and tail stock ends of the newly created sphere, it was sanded with 'Abranet' to 400 grit, wiped with a tack cloth and waxed/ polished direct without use of sanding sealer. It should normally be left to harden for say 15 minutes.
Colin advised that a range of sphere sizes could be made by this 'shadow' method. He also emphasized that the light must be positioned accurately to avoid creating elliptical shapes.
Colin showed a handy method of identifying abrasive grades. His usual starting grade is 120 and that is left unmarked, then the next grade up has a single small scissor 'V' cut, the next grade two cuts, etc., etc.
 |
 |
 |
 |
 |
 |
 |
 |
 |
 |
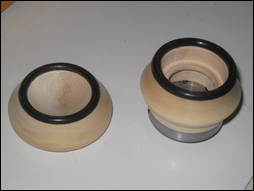
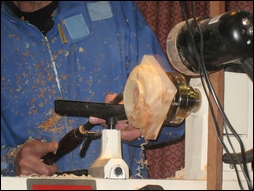
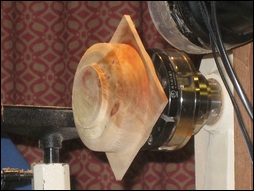
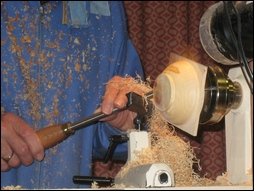
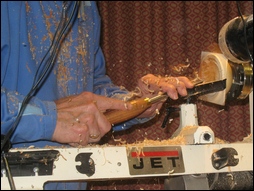
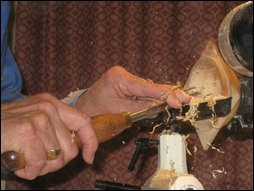
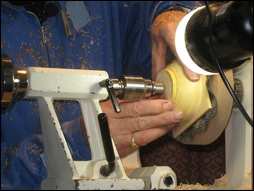
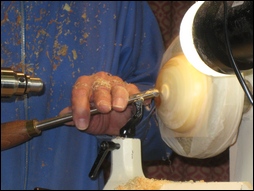
The pre-prepared blank was mounted on a screw chuck and the tailstock was moved into contact to mark the centre on that end before being removed. Rough shaping of the base and formation of a spigot were tackled first up to the underside of the square section. The height of the rim above the square section (wings) and the thickness of the square were decided and formed accordingly. Care was taken to ensure that the outside lines of the bowl below and above the wings were in perfect alignment (i.e. were in the same plane). Further shaping of the lower section of the bowl was then undertaken and all external surfaces were sanded and finished by applying Chestnut Microcrystalline wax direct onto the unsealed wood (15 minutes penetration and drying time should normally be allowed). The work was then reversed for the hollowing out stage using a ½" bowl gouge, the spigot being held in an Axminster 4-jaw chuck. On completion of hollowing; the inside of the bowl was polished. Bowl and chuck were removed, the latter being replaced by a wood/ metal, purpose-designed, faceplate to receive the re-reversed bowl to allow removal of the spigot and final shaping of the base. The tailstock was reinstated and the point located in the previously marked centre point. Most of the spigot was removed with the tailstock in place but the last vestige was removed with tailstock removed, the bowl being held firmly on the faceplate with 2" masking tape. The base of the bowl was given the faintest of curves but Colin assured us - as we were able to observe, that it sat very nicely.
Further details about method employed and techniques used are as follows:
The hole drilled for the screw chuck must be at dead centre to achieve perfect proportions, and the hole should be countersunk. The spigot size was marked out accurately using calipers, although for some tasks Colin carries home-made jigs of defined sizes to suit jaws in his kit. He used a narrow parting tool head on to mark the spigot edge and penetrate to his required depth before external shaping below the square section was performed with a spindle gouge using pulling cuts initially, followed by a beading tool or ¼" parting tool. Shaping of the external wall below the square was completed including use of a skew chisel laid flat on the toolrest to achieve a sharply delineated intersection between wall and square wing without risk of catching the wing. The square wings were sanded with the lathe stationary.
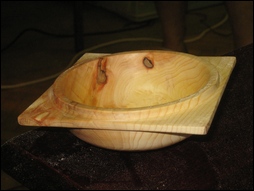
Colin mentioned that similar bowls could be made with 3, 6 or 8 sides, etc. but emphasized that all sides must be of identical dimensions. When pushing the hollowed bowl onto the afore-mentioned faceplate a sheet of router mat was used as a cushion to prevent damage to the inside surface. 2" masking tape applied with care proved sufficient to hold the bowl firmly in position while the spigot was removed. On completion the sphere was placed in the bowl for effect and they made a handsome pair.
Conclusion - As in his September 2013 demonstration Colin turned in (pun intended) a matchless performance! Perfect turning was combined with faultless commentary. It can't get much better can it?
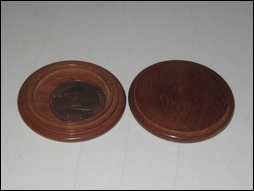
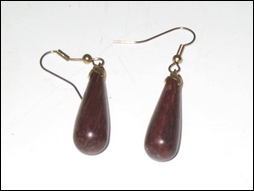
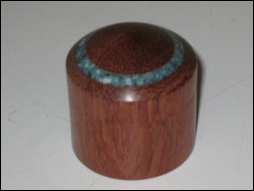
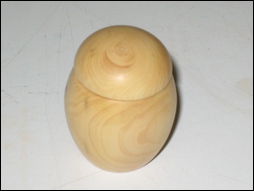
Show and Tell theme for the evening was: Something Small - this was well supported and displayed lots of 'small stuff'!
 |
 |
 |
|
|
||
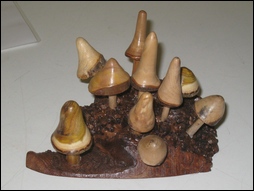
| Third place was awarded to Richard Branscombe with this collection of mushrooms on a burr base - all made from shrubs from his garden! |
 |
| Second place was this fine collection of very small miniatures by Mike Crawshaw | 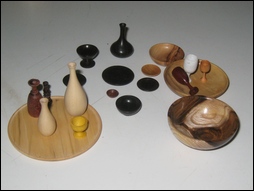 |
| This month's Show and Tell winner was Harry Rock who entered a small bowl (Laburnum) and platter (Indian Rosewood) with superglue and aluminium powder inserts along with a 55 mm tall goblet in Laburnum | 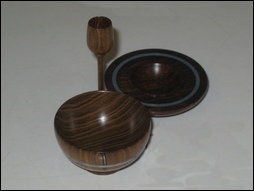 |